If you are looking for How To Design An Effective Organizational Chart With Simple Templates you've come to the right place. We have 16 images about How To Design An Effective Organizational Chart With Simple Templates including images, pictures, photos, wallpapers, and more. In these page, we also have variety of images available. Such as png, jpg, animated gifs, pic art, logo, black and white, transparent, etc.

The Power of Organizational Charts
Organizational charts are more than just diagrams; they are essential tools for visualizing a company’s structure, roles, and reporting lines. An effective organizational chart can significantly improve communication, streamline management, and enhance overall efficiency. For many businesses, using simple templates can simplify the creation process while still delivering professional results.
In this guide, we’ll explore how to design an effective organizational chart using simple templates. We’ll cover selecting the right template, customizing it to fit your needs, and using popular tools to bring your chart to life.
1. Choosing the Right Template
Finding the Perfect Fit
Selecting the right organizational chart template is the first step in designing an effective chart. The template you choose should align with your company’s structure and communication needs.
Types of Templates:
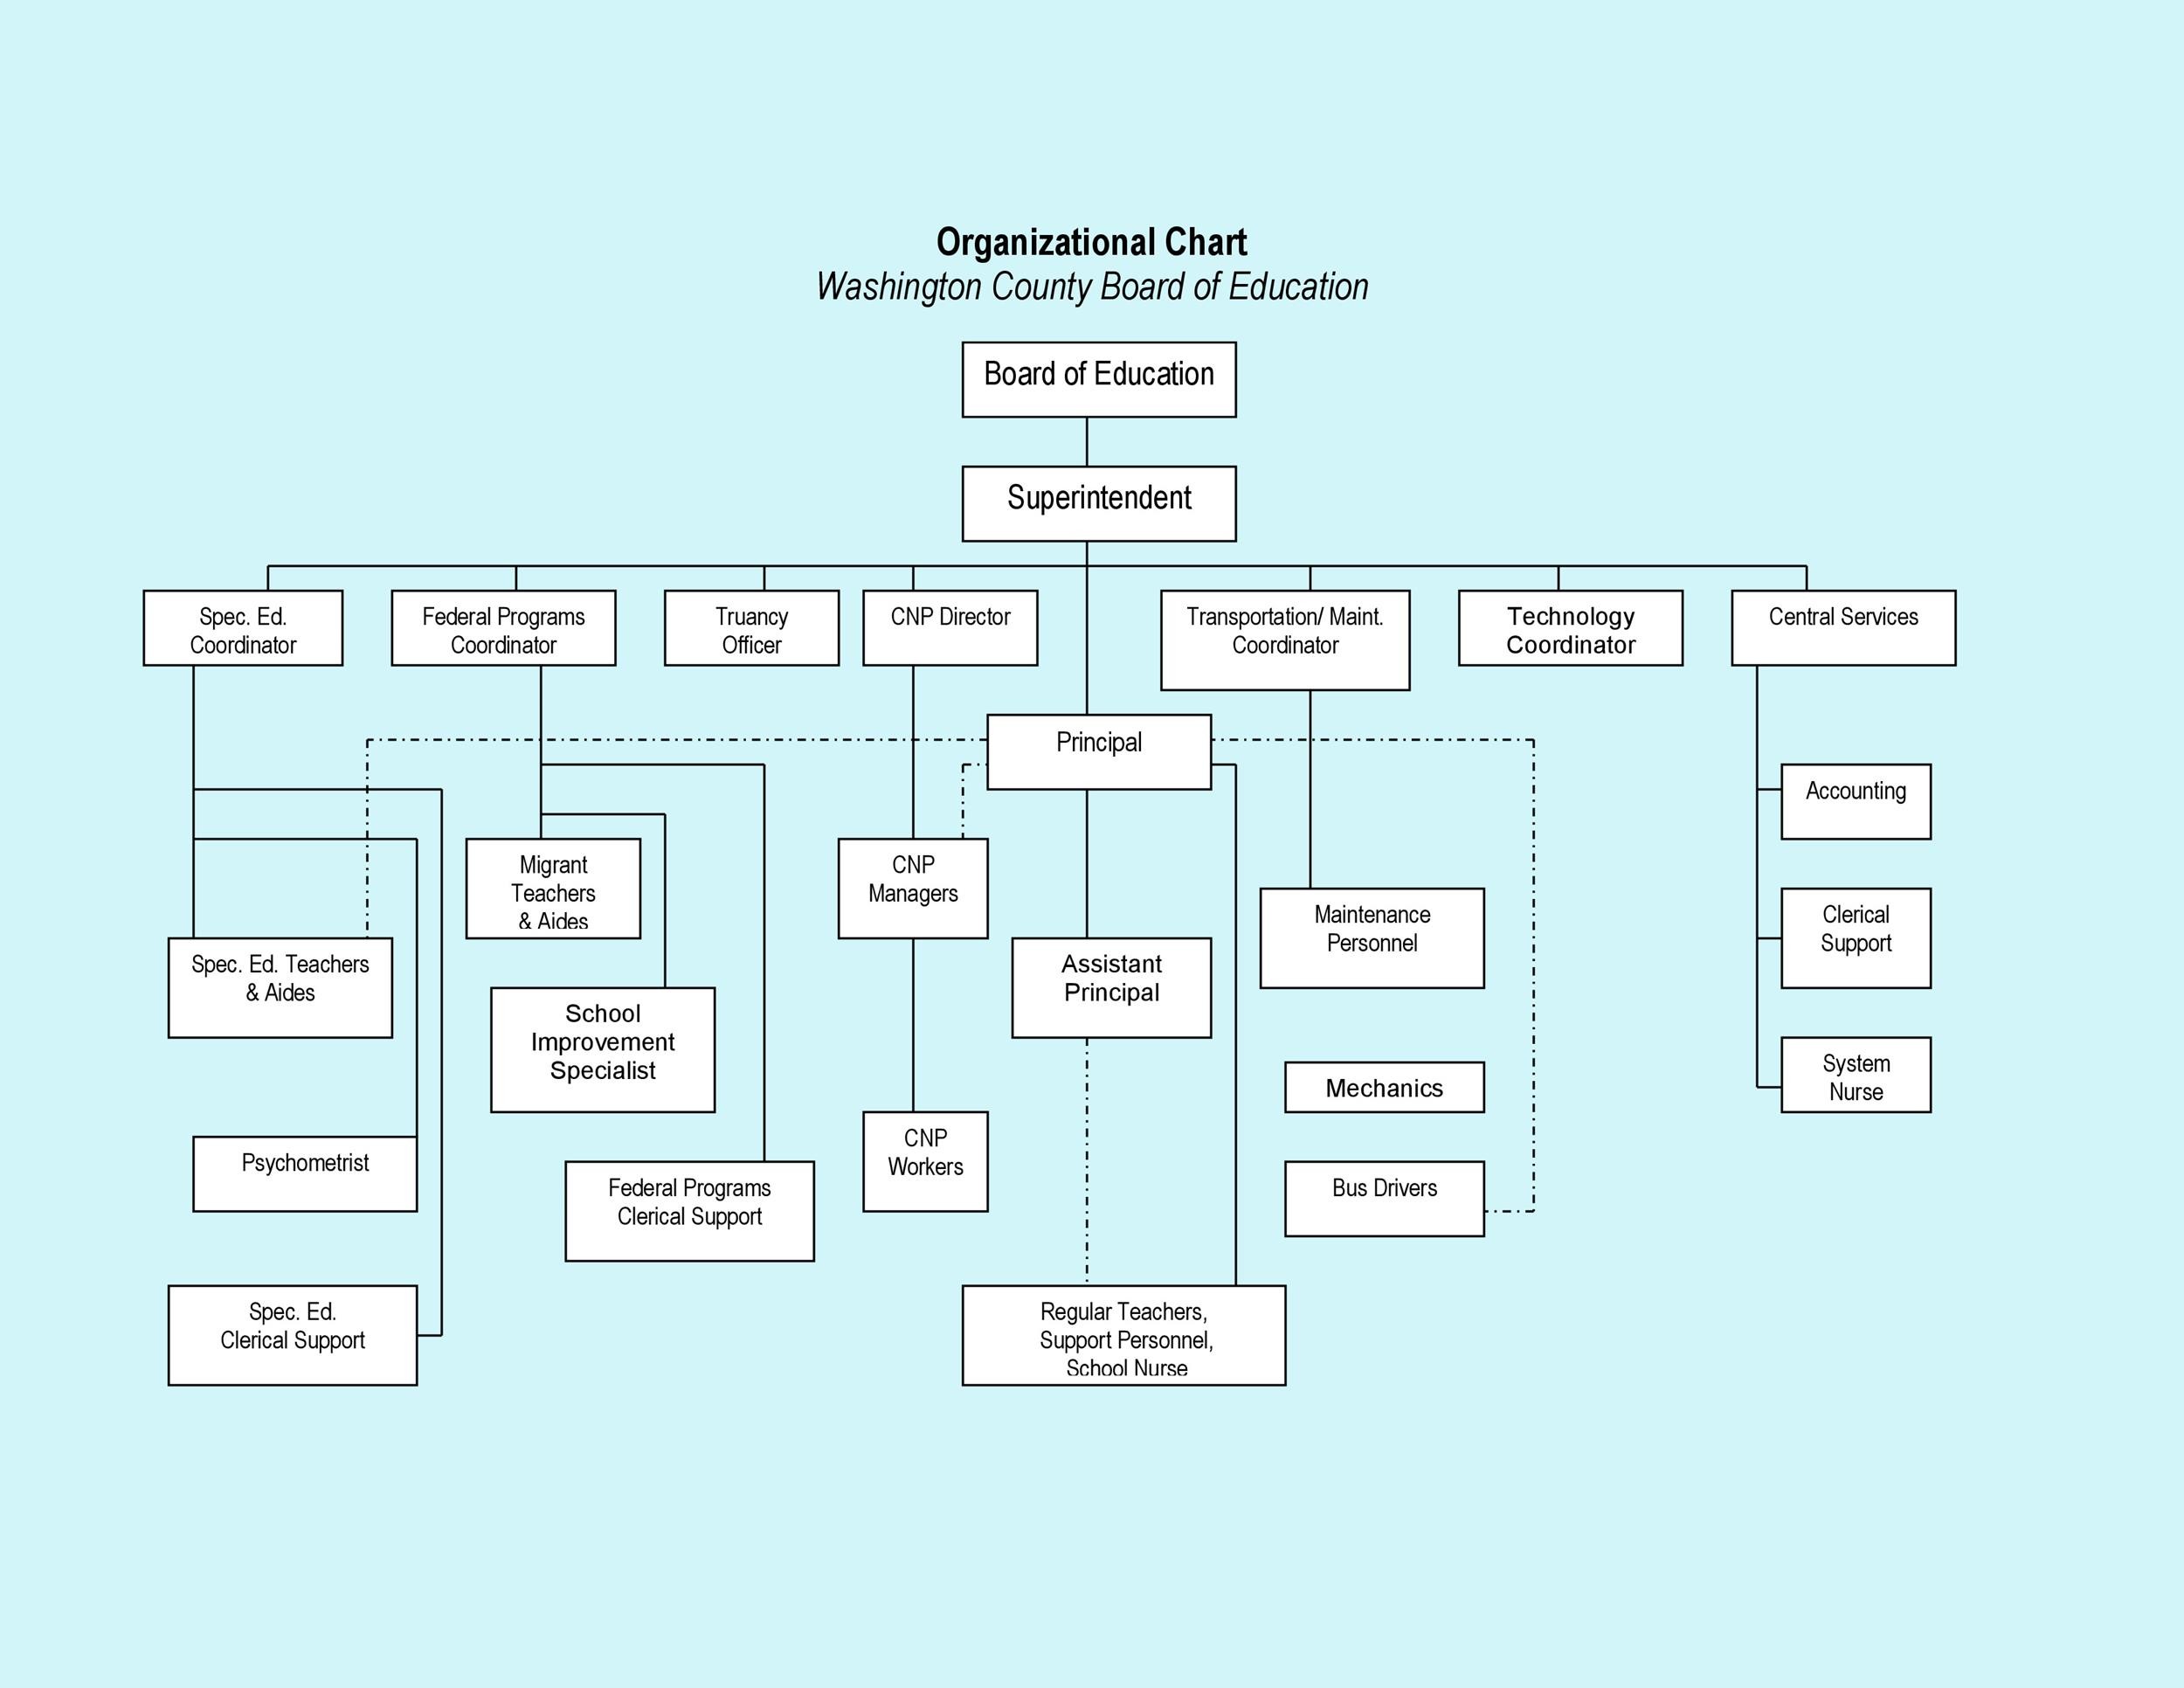
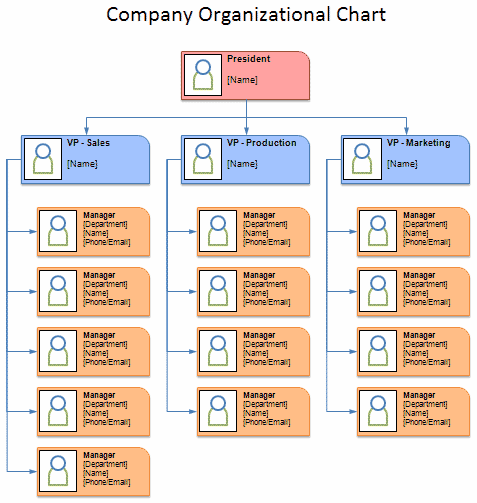
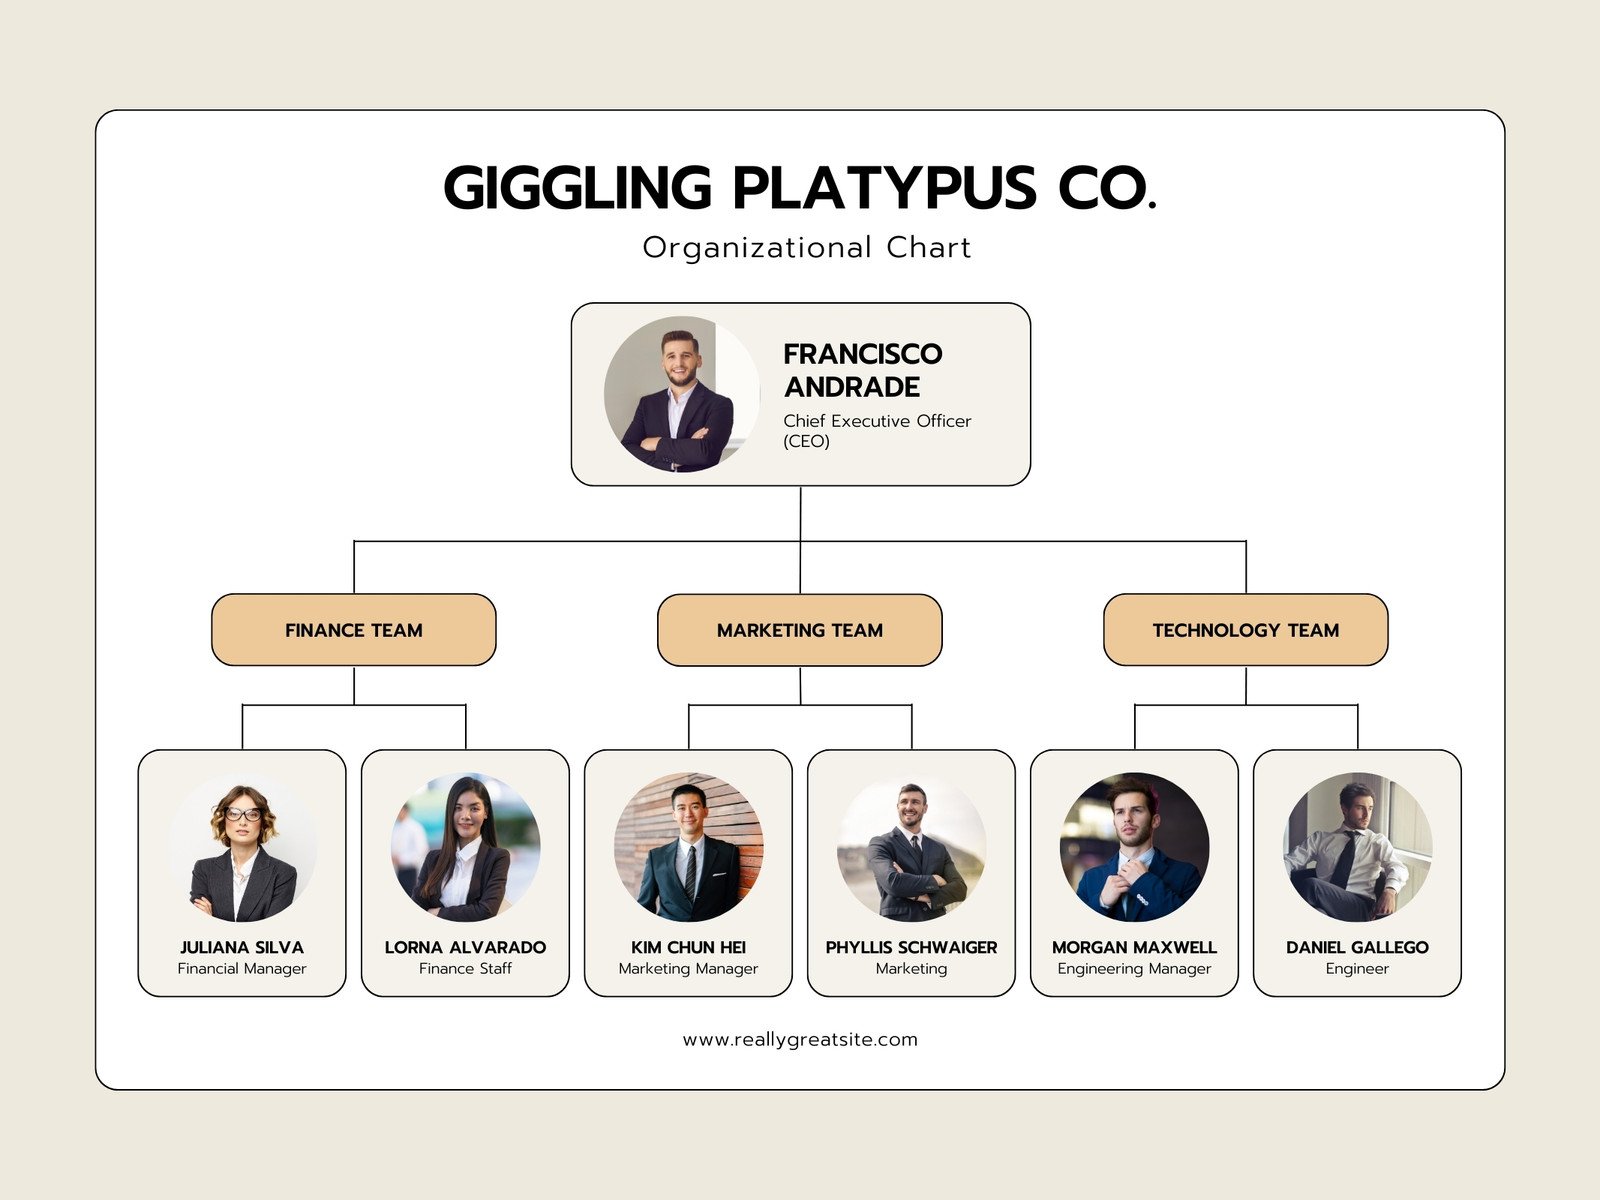
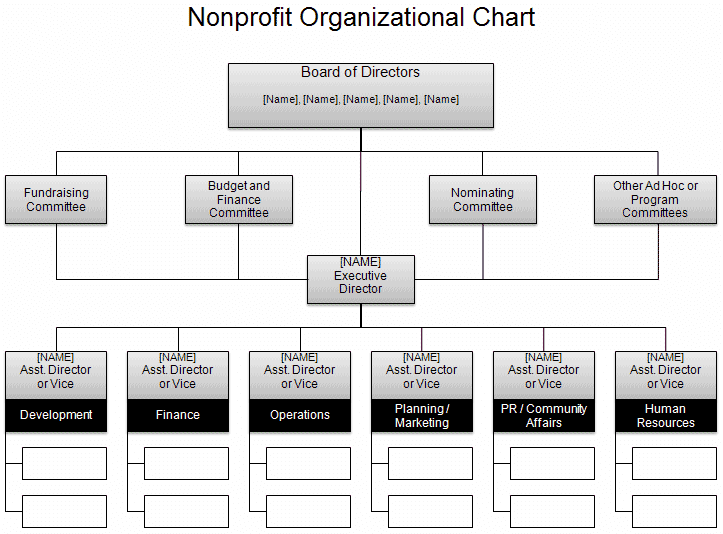
Hierarchical Templates: These templates display a top-down structure with various levels of authority. Ideal for traditional organizations with clear reporting lines.
Matrix Templates: Show roles in a grid format, emphasizing multiple reporting lines. Suitable for teams working on cross-functional projects.
Flat Templates: Present a more egalitarian structure with fewer hierarchical levels. Best for startups or small teams where roles are less defined by hierarchy.
Functional Templates: Focus on different functions or departments within the team. Useful for understanding which team handles which functions.
How to Choose:
- Assess Your Structure: Determine if your organization has a clear hierarchy, multiple reporting lines, or a flat structure.
- Select Based on Needs: Choose a template that best represents your organization’s structure and communication needs.
- Consider Flexibility: Opt for a template that allows easy updates and adjustments.
2. Customizing Your Template
Making It Your Own
Once you’ve selected a template, it’s time to customize it to fit your organization’s specific needs. Customization enhances the chart’s clarity and effectiveness.
Customization Tips:
- Colors: Use colors to differentiate between departments or roles. This makes the chart easier to read and visually appealing.
- Fonts: Choose clear, legible fonts and maintain consistency throughout the chart to ensure readability.
- Shapes and Icons: Incorporate different shapes or icons to represent various roles or functions, helping to visually distinguish between them.
- Labels: Clearly label each role and include key responsibilities if needed for additional context.
Steps to Customize:
- Open the Template: Access your chosen template using tools like Google Sheets, Canva, or Microsoft Office.
- Adjust Design Elements: Modify colors, fonts, and shapes to match your company’s branding and improve the chart’s clarity.
- Input Information: Enter details such as names, titles, and responsibilities.
3. Using Tools to Create Your Chart
Leveraging Technology
Several tools make it easy to create and customize organizational charts. Here’s a look at some popular options:
- Google Sheets: Offers basic templates that are easy to modify and collaborate on in real-time.
- Canva: Known for its design flexibility and intuitive interface, perfect for creating visually appealing charts.
- Microsoft Office: Provides professional templates with robust customization options in Word and Excel.
- Lucidchart: Offers interactive features and advanced customization, suitable for dynamic and detailed charts.
How to Get Started:
- Choose a Tool: Select a tool that aligns with your needs and preferences.
- Explore Features: Familiarize yourself with the tool’s features and capabilities.
- Create and Customize: Use the tool to design and customize your organizational chart.
4. Best Practices for Effective Charts
Designing for Clarity and Impact
To ensure your organizational chart is effective, follow these best practices:
Best Practices:
- Keep It Simple: Avoid cluttering the chart with too much information. Focus on essential roles and reporting lines.
- Use Clear Labels: Ensure that all roles are clearly labeled and easy to understand.
- Maintain Consistency: Use consistent design elements throughout the chart to ensure a professional appearance.
- Update Regularly: Review and update the chart periodically to reflect any changes in your organization’s structure.
Tips for Success:
- Solicit Feedback: Get input from team members to ensure the chart is clear and useful.
- Review for Accuracy: Double-check all information to ensure accuracy and completeness.
5. Sharing and Utilizing Your Chart
Effective Implementation
Once your organizational chart is complete, it’s crucial to share and use it effectively within your organization.
How to Share:
- Distribute Electronically: Share the chart via email, company intranet, or collaboration platforms like Slack or Microsoft Teams.
- Integrate in Meetings: Refer to the chart during meetings to clarify roles and reporting lines.
- Include in Onboarding: Provide the chart as part of onboarding materials for new hires to help them quickly understand the team structure.
Utilization Tips:
- Incorporate into Workflows: Use the chart to streamline communication and decision-making processes.
- Monitor and Adjust: Continuously monitor the chart’s effectiveness and make adjustments as needed.