If you are looking for How to Create a Simple Excel Invoice Template you've come to the right place. We have 14 images about How to Create a Simple Excel Invoice Template including images, pictures, photos, wallpapers, and more. In these page, we also have variety of images available. Such as png, jpg, animated gifs, pic art, logo, xls, pdf, word, black and white, transparent, etc.

Not only How to Create a Simple Excel Invoice Template, you could also find another pics such as Basic Excel Invoice, Free Simple Invoice App, Simple Invoice Format Excel, and Easy Invoice, Excel invoice template, create invoice in Excel, simple invoice template, Excel for business, invoicing tutorial, custom invoice design, Excel spreadsheet invoice, business finance tools, DIY invoice creation, professional invoice template.
Creating an invoice doesn’t have to be a complex task. In fact, with Microsoft Excel, you can craft a simple, yet professional-looking invoice template that can streamline your billing process. This guide will walk you through the process of designing your own Excel invoice template, making it easier to manage your finances and impress your clients.
Why Use Excel for Invoicing?
Excel is more than just a tool for crunching numbers; it’s a versatile platform for creating invoices. Here’s why Excel can be an excellent choice for your invoicing needs:
- Flexibility: Customize your invoice layout according to your needs.
- Cost-Effective: No need for additional software; Excel is often included with Microsoft Office.
- Familiarity: If you're already using Excel, there’s no steep learning curve.
- Automation: Use Excel’s built-in formulas to automatically calculate totals and taxes.
Getting Started with Excel
Setting Up Your Workbook
- Open Excel: Start by launching Microsoft Excel and creating a new workbook.
- Save Your Workbook: Save your file with a name like “Invoice Template” to easily identify it later.
- Adjust Page Layout: Go to the “Page Layout” tab and set up your margins, orientation, and size based on your preferences.
Choosing a Template or Starting from Scratch
Excel offers several built-in templates that you can use as a starting point. If you prefer to build your own:
- Create a New Worksheet: Add a new worksheet by clicking on the "+" icon at the bottom.
- Rename the Worksheet: Right-click the sheet tab and choose “Rename.” Name it “Invoice.”
Designing Your Invoice Layout
Structuring Your Invoice
- Header: Create a header section that includes your business name, logo, and contact information.
- Client Information: Add sections for your client’s name, address, and contact details.
- Invoice Details: Include fields for invoice number, date, and due date.
- Itemized List: Create a table for listing the services or products provided, quantities, unit prices, and total amounts.
- Total Amount: Ensure there’s a space to display the total amount due, including any taxes or discounts.
Formatting Your Invoice
- Use Borders and Shading: Add borders to your table for a clean look. Use shading to differentiate between sections.
- Choose a Professional Font: Select a font that is easy to read, like Arial or Calibri.
- Adjust Column Widths: Make sure all the information fits well within each column.
Adding Essential Elements
Inserting Your Business Information
- Insert Your Logo: Go to the “Insert” tab, select “Pictures,” and choose your logo file.
- Enter Business Details: Type your business name, address, phone number, and email.
Adding Client Details
- Client Section: Create fields for the client’s name, address, and contact information.
- Invoice Information: Include fields for invoice number, invoice date, and due date.
Creating the Itemized Table
- Table Headers: Add headers like “Description,” “Quantity,” “Unit Price,” and “Total.”
- Item Rows: Leave rows for each item you’re billing for.
Automating Calculations
Using Formulas
- Calculate Line Totals: In the “Total” column, use the formula
=B2*C2to multiply quantity by unit price. - Calculate Subtotal: Sum the total amounts using the
=SUM(D2:D10)formula where D2is the range of total amounts. - Add Tax: Use a formula like
=Subtotal*0.10to calculate a 10% tax. - Calculate Total Amount Due: Add the subtotal and tax with the formula
=Subtotal+Tax.
Adding Drop-Down Lists
- Create Drop-Down Lists: Use data validation to create drop-down lists for common items or services.
- Apply Data Validation: Go to “Data” > “Data Validation,” select “List,” and enter your list of items.
Customizing Your Template
Personalizing Your Design
- Customize Colors: Use your brand colors for a consistent look. Go to “Home” > “Cell Styles” to apply colors.
- Update Fonts: Adjust fonts to match your business branding.
Adding Additional Features
- Notes Section: Include a section for additional notes or payment instructions.
- Terms and Conditions: Add a brief section outlining your payment terms and conditions.
Saving and Using Your Template
Saving as a Template
- Save Your Template: Go to “File” > “Save As” and select “Excel Template (*.xltx)” from the file type options.
- Name Your Template: Choose a descriptive name like “Invoice Template.”
Using Your Template
- Open Your Template: Whenever you need to create a new invoice, open the template and save it with a new name.
- Enter Invoice Details: Fill in the details specific to the current invoice and save it.

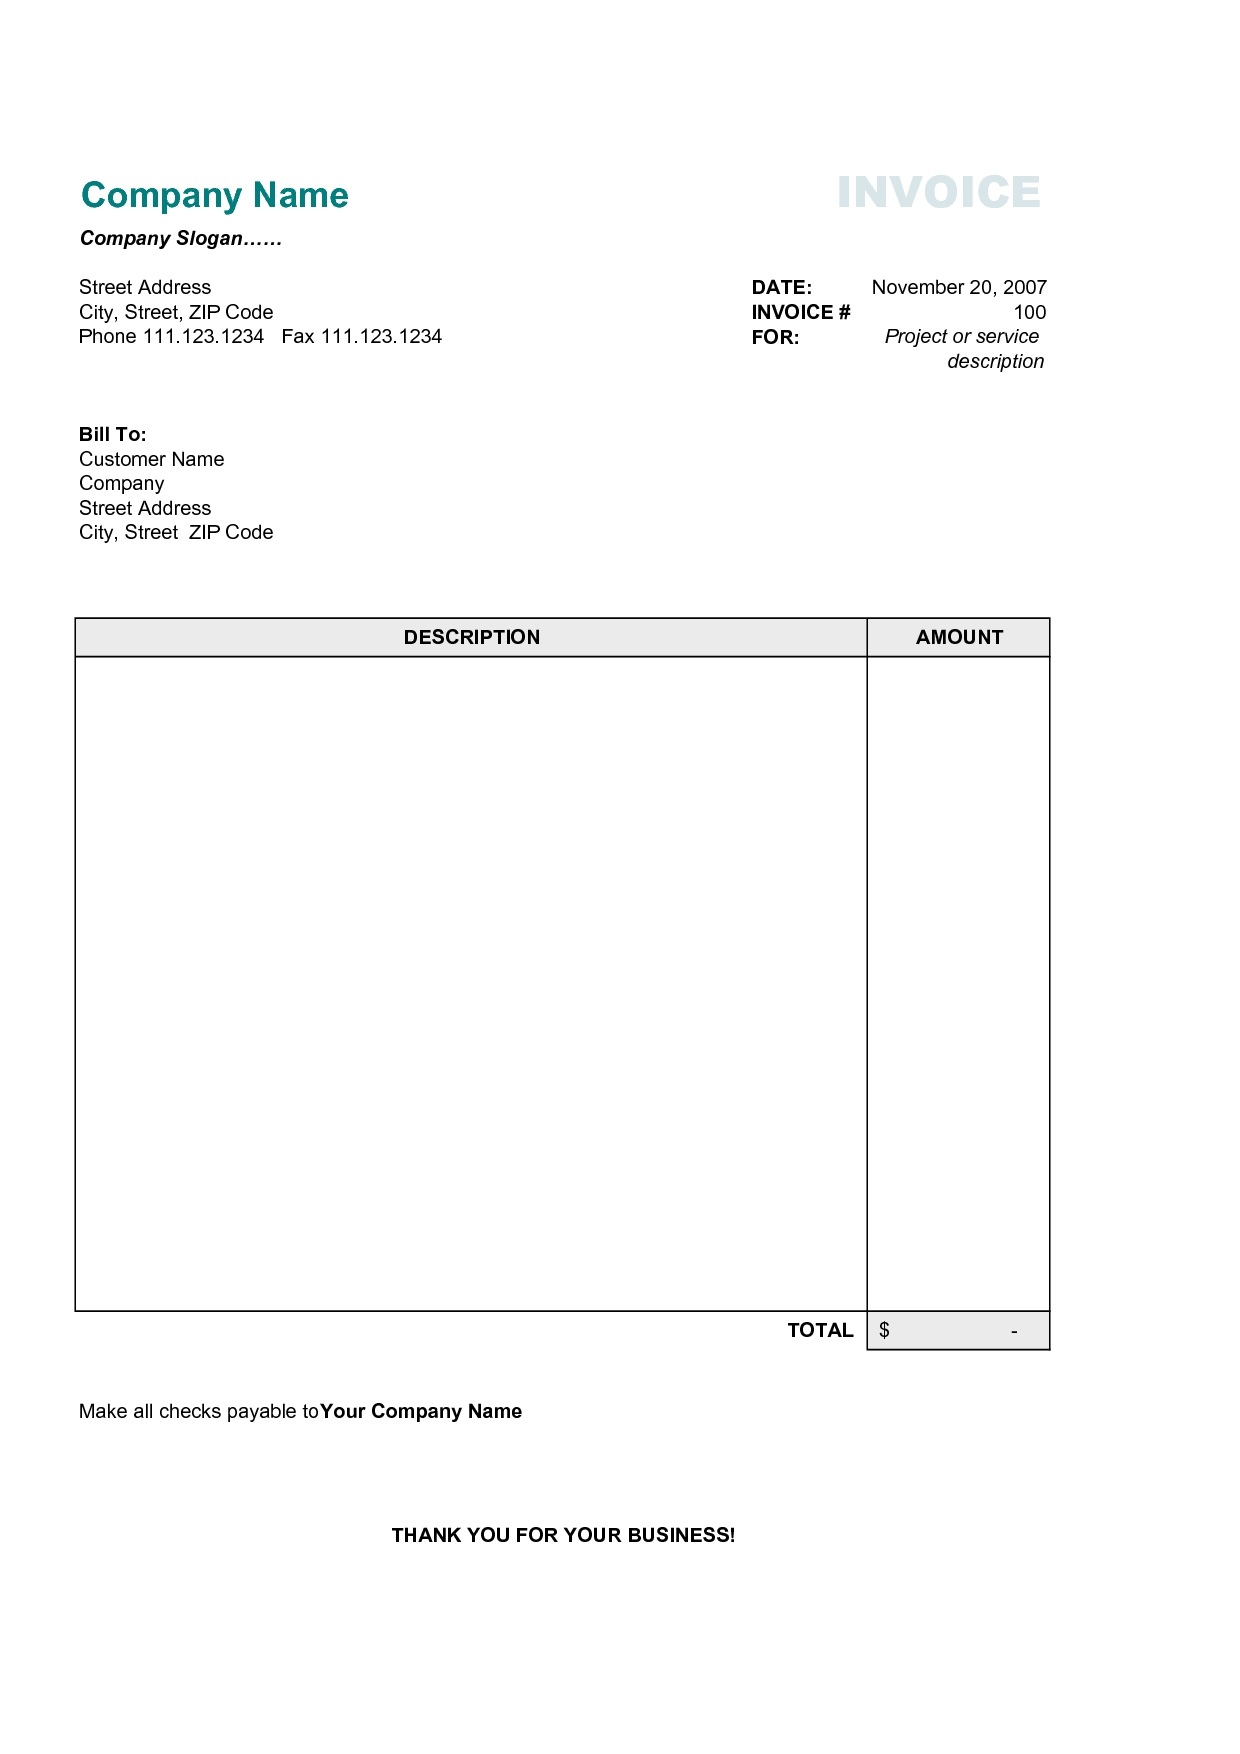
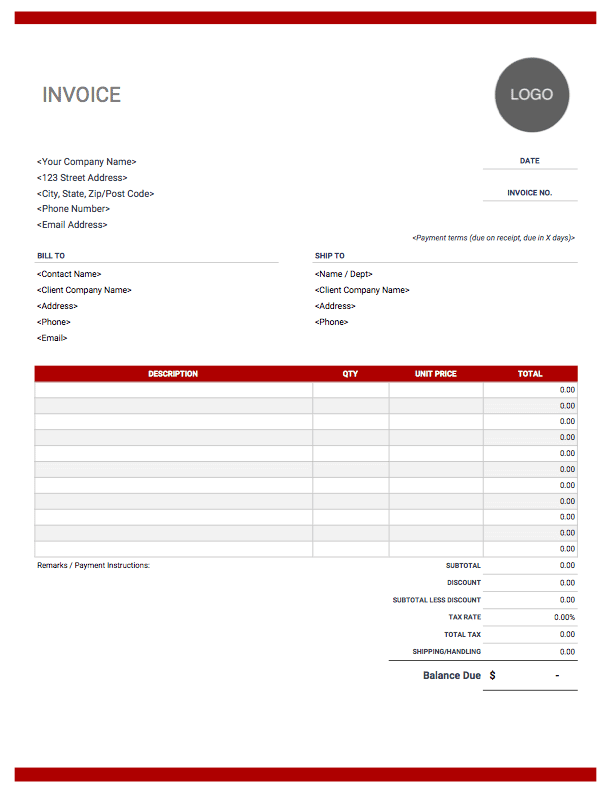
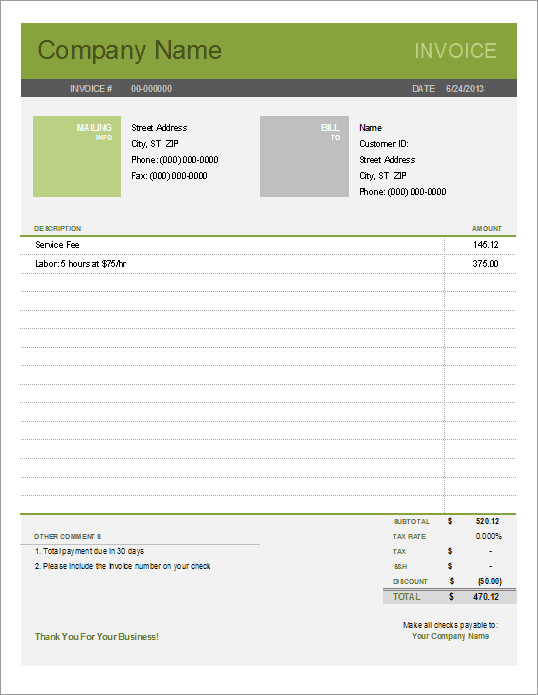
 459×584
 invoice template excel sample template business psd excel word
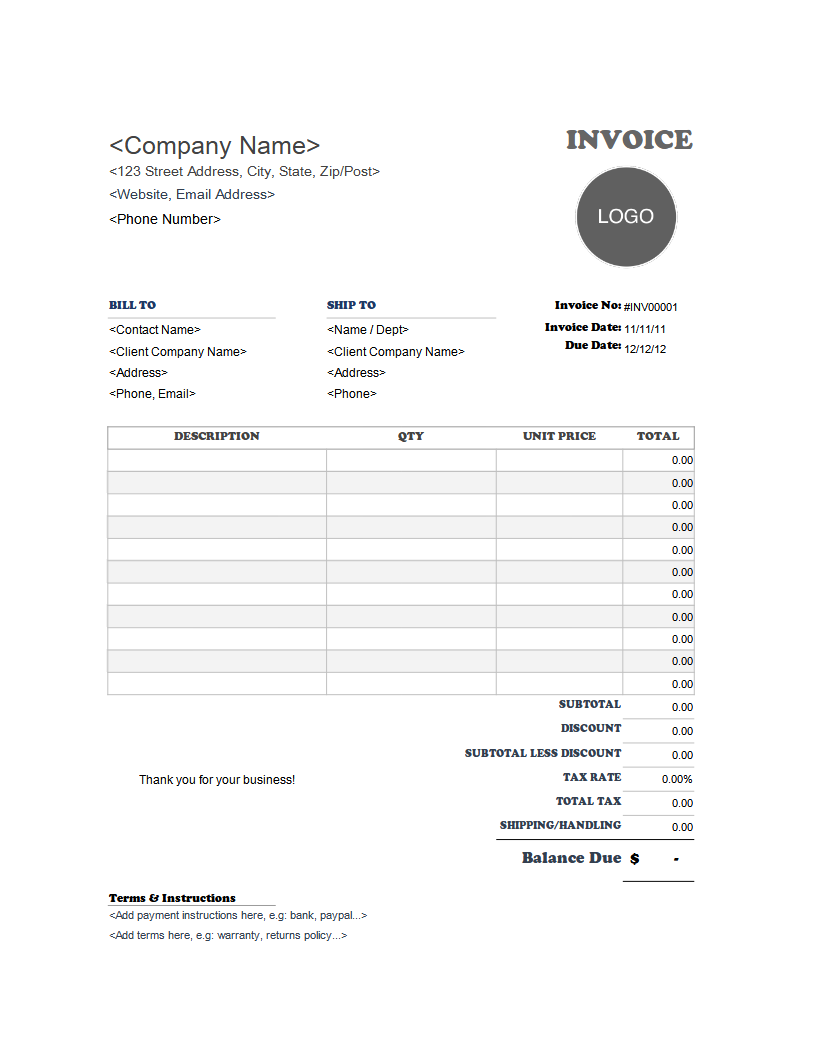
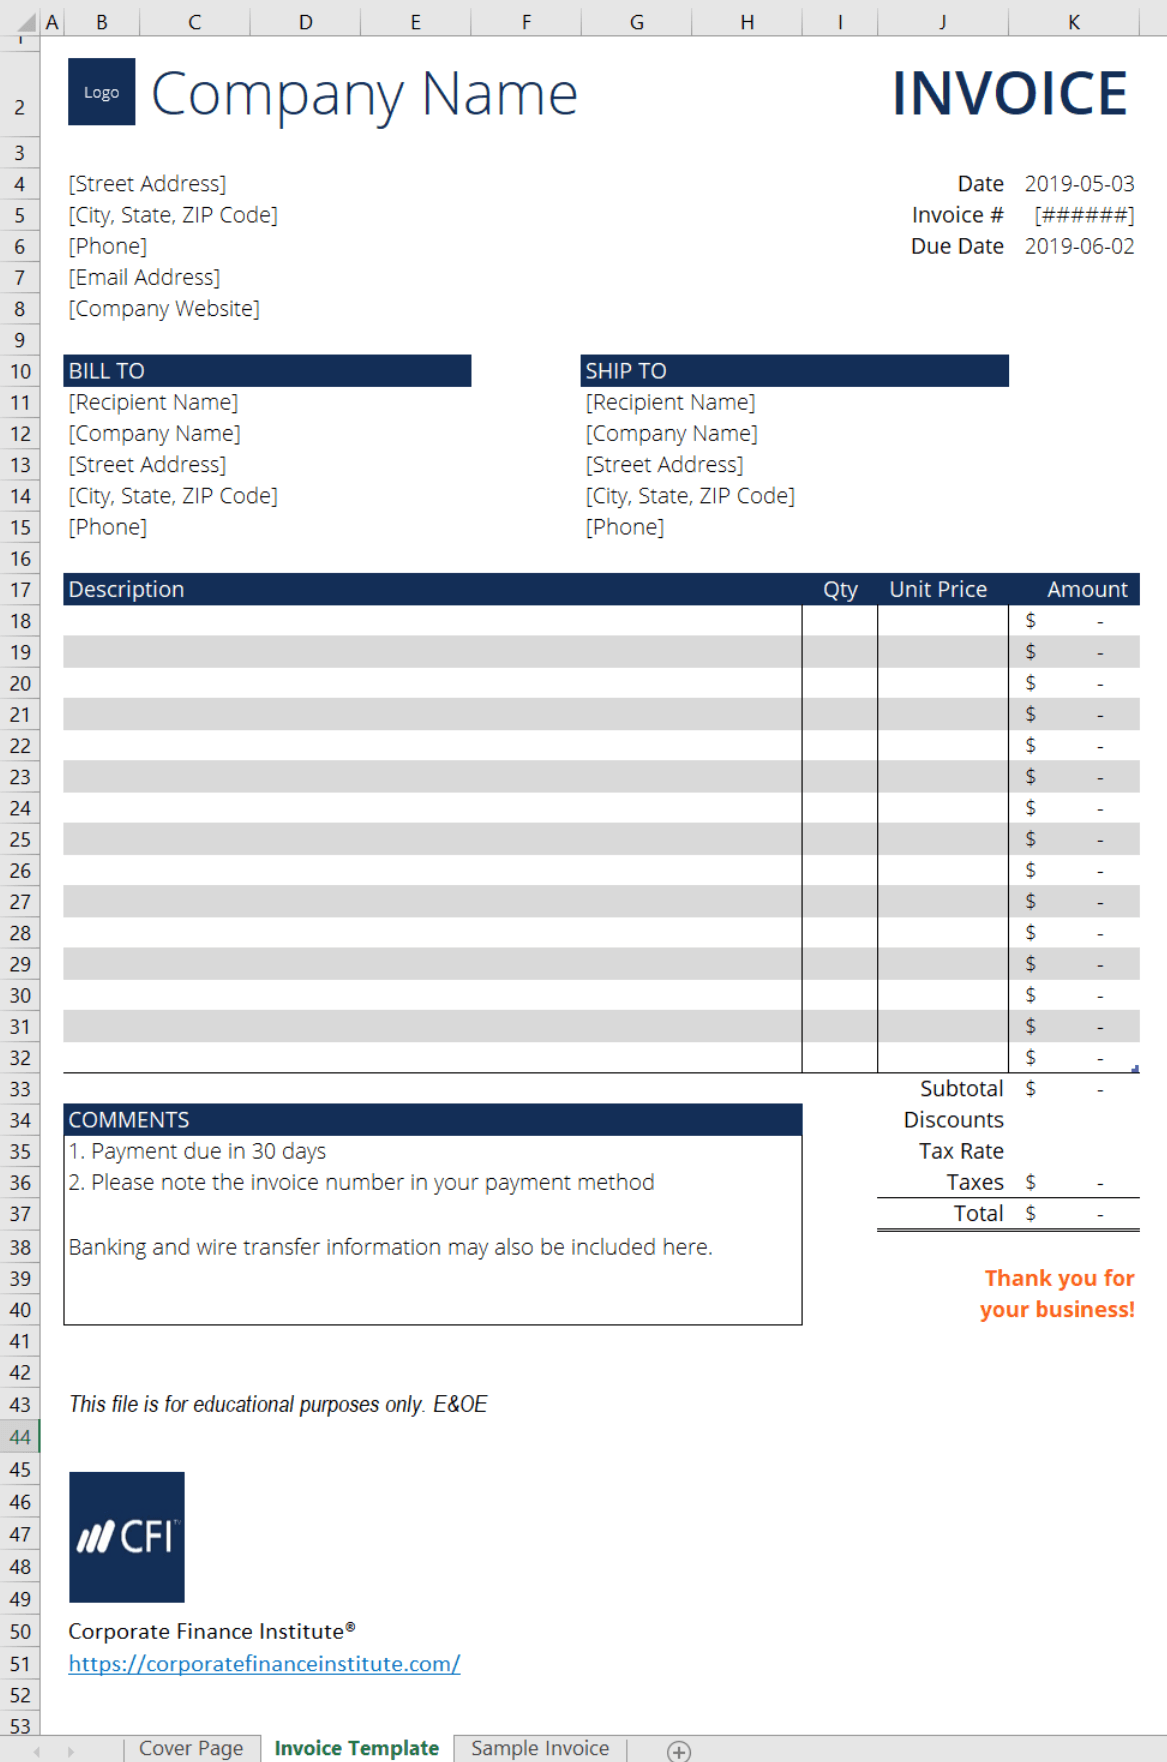
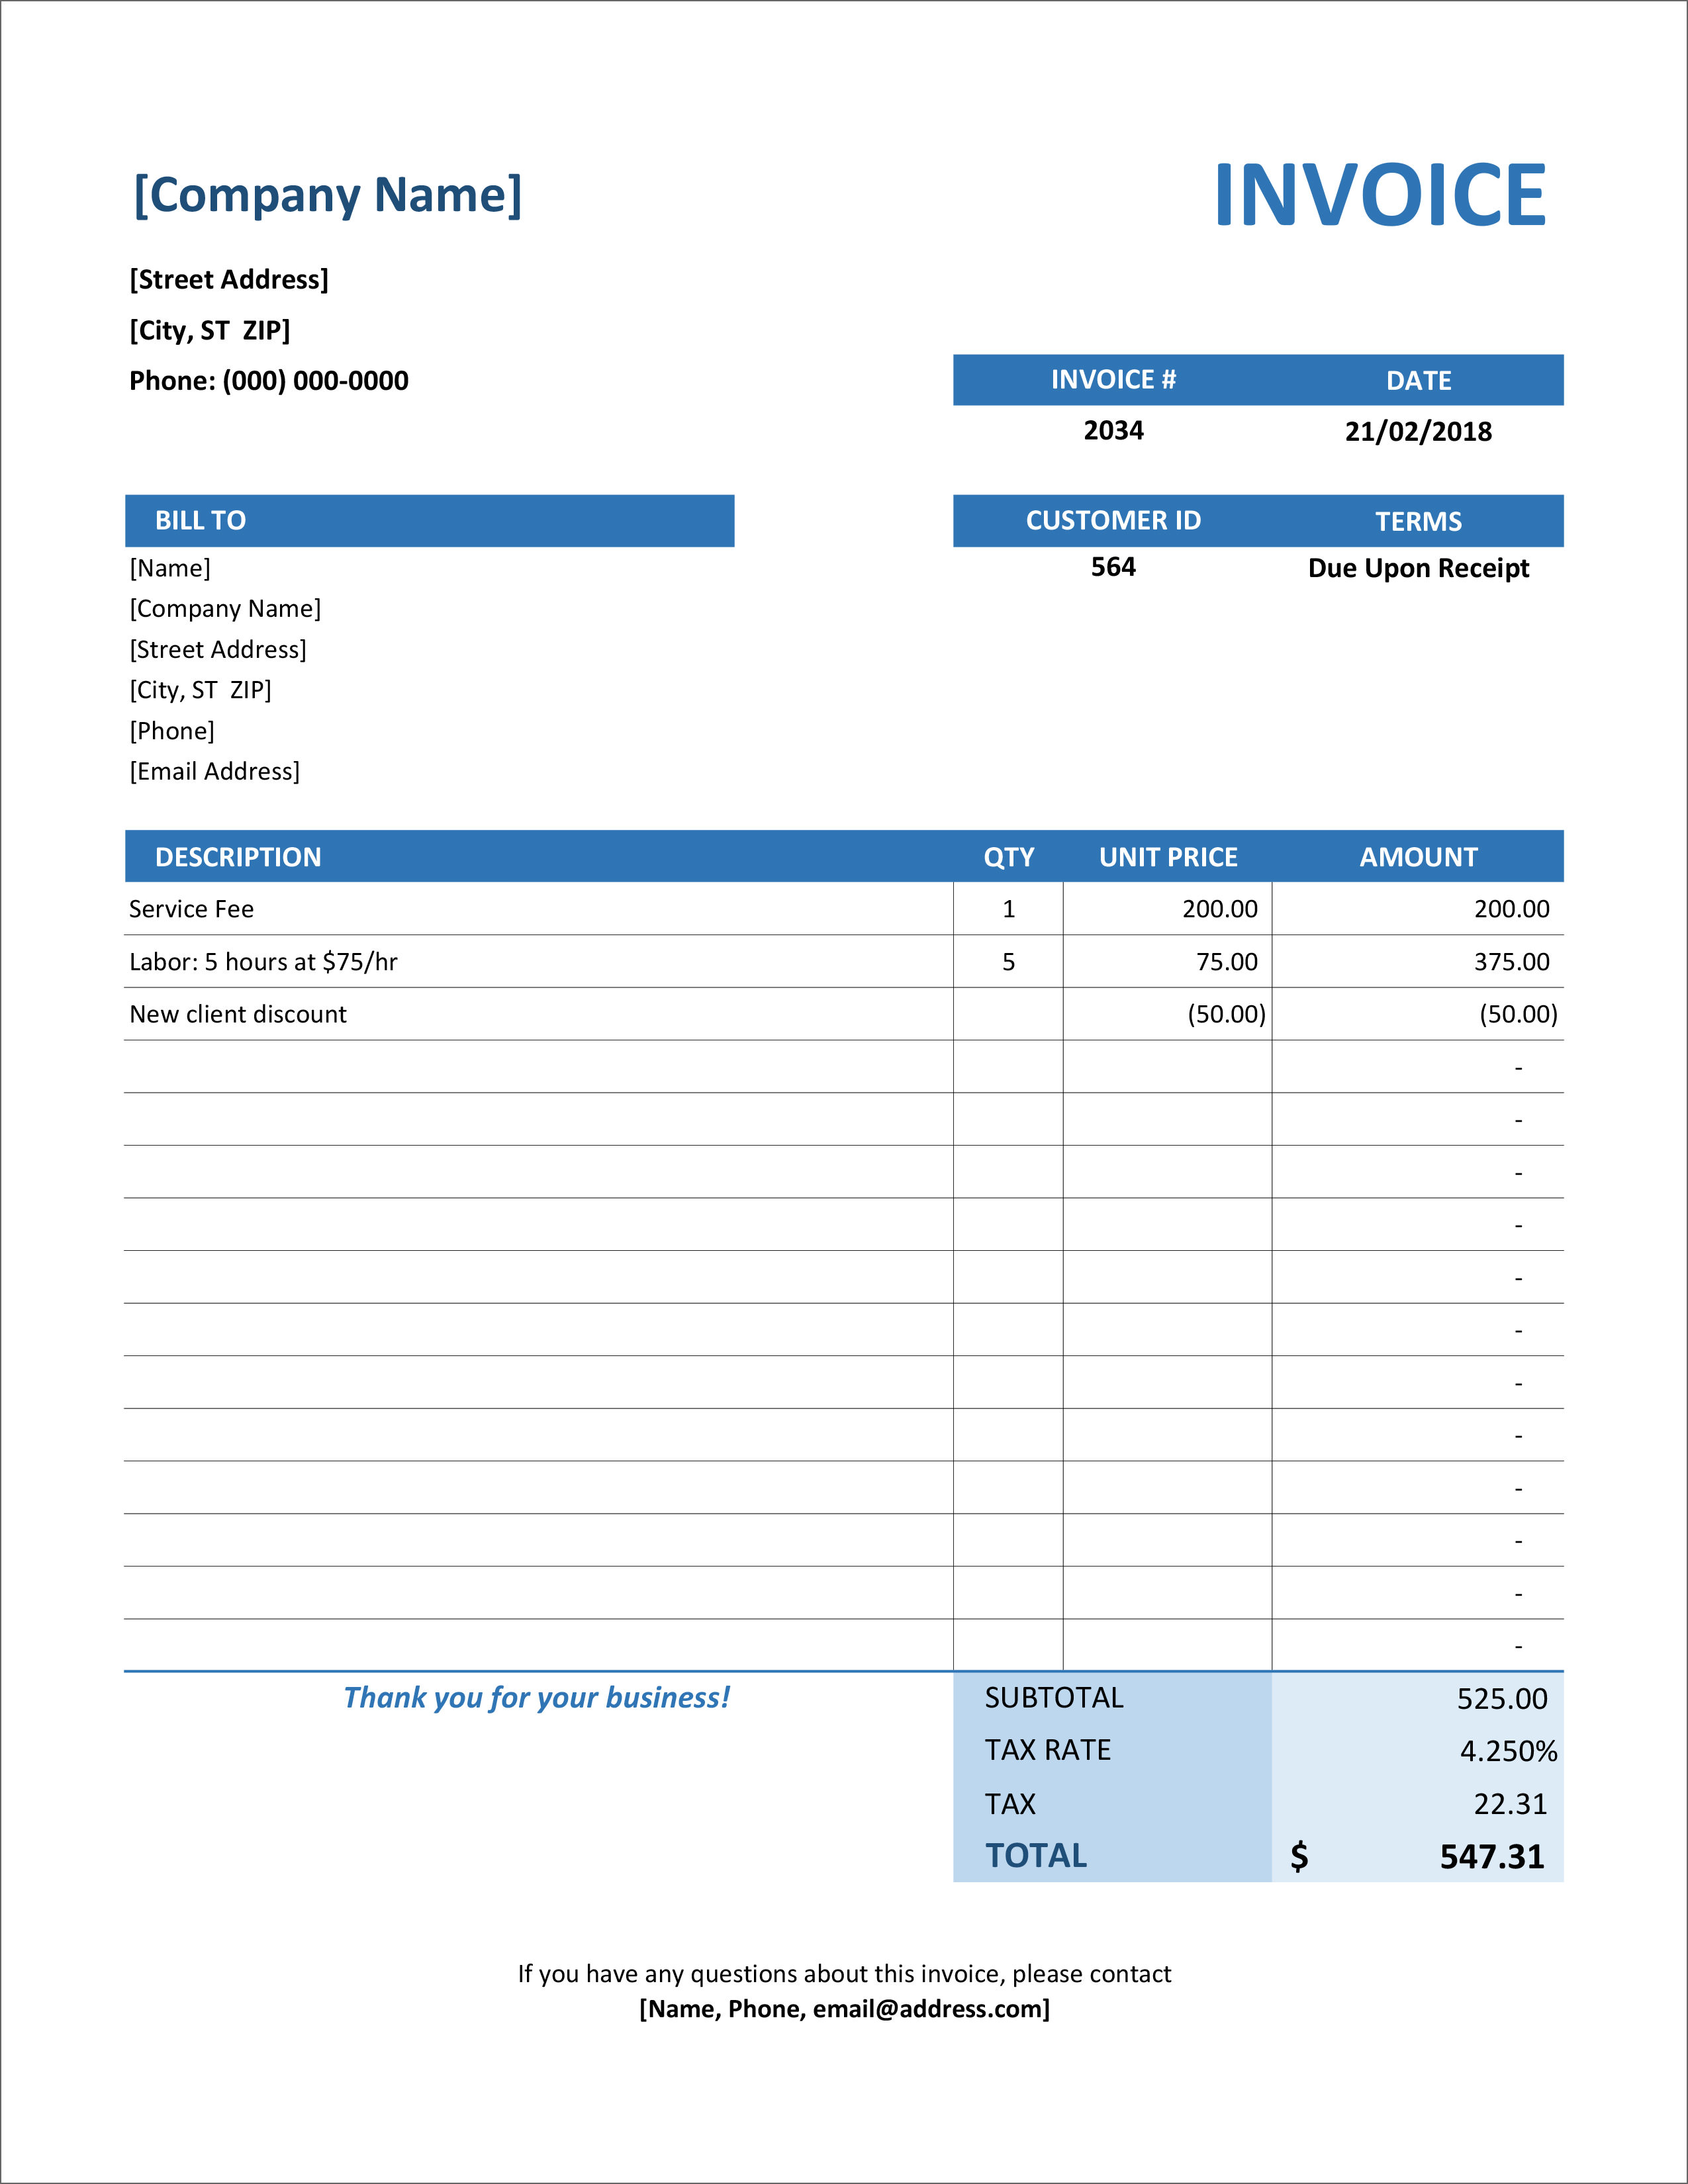
 1583×2048
 invoice templates microsoft excel docx formats pertaining downloadable
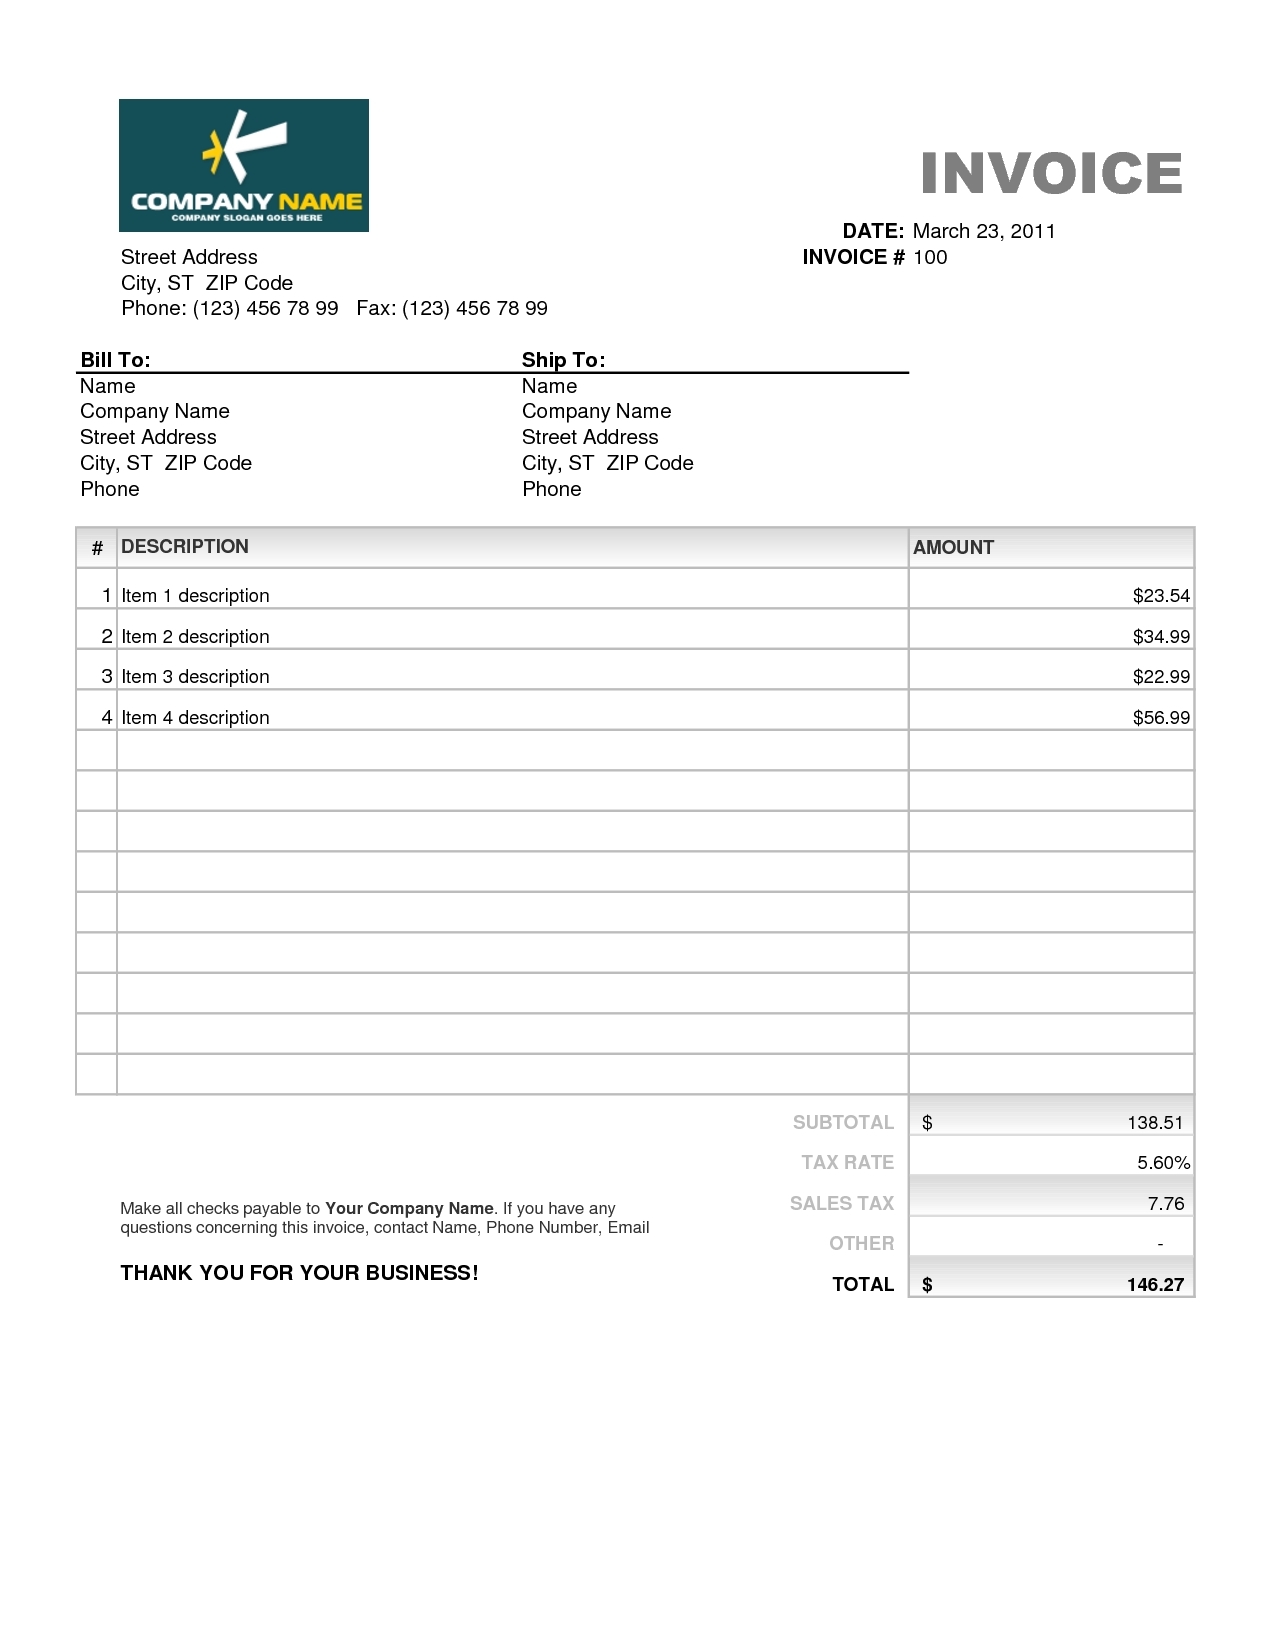
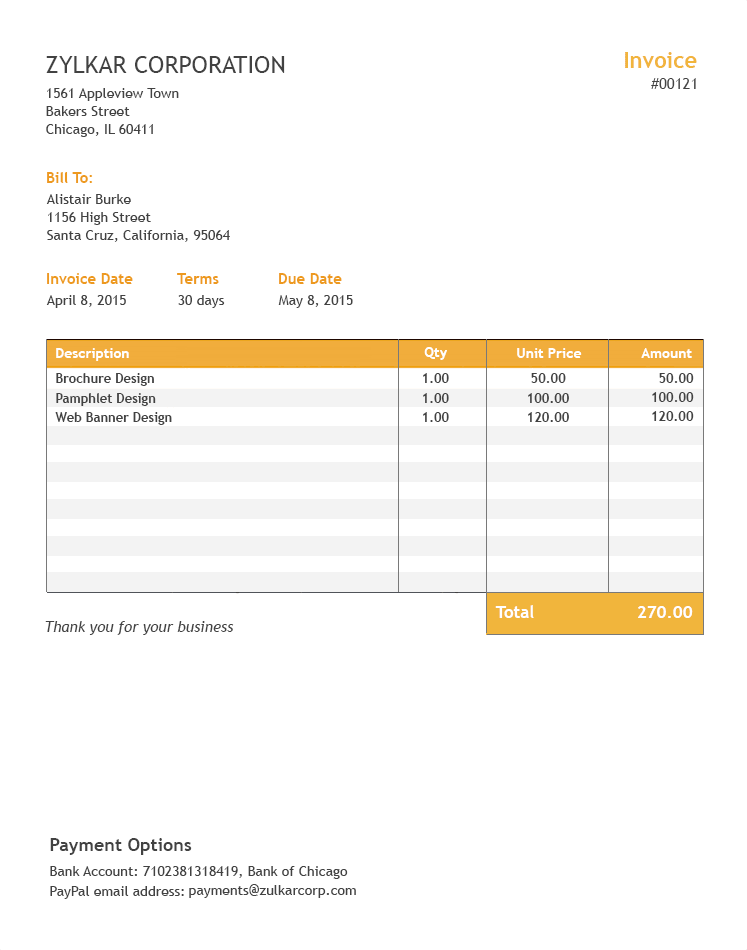
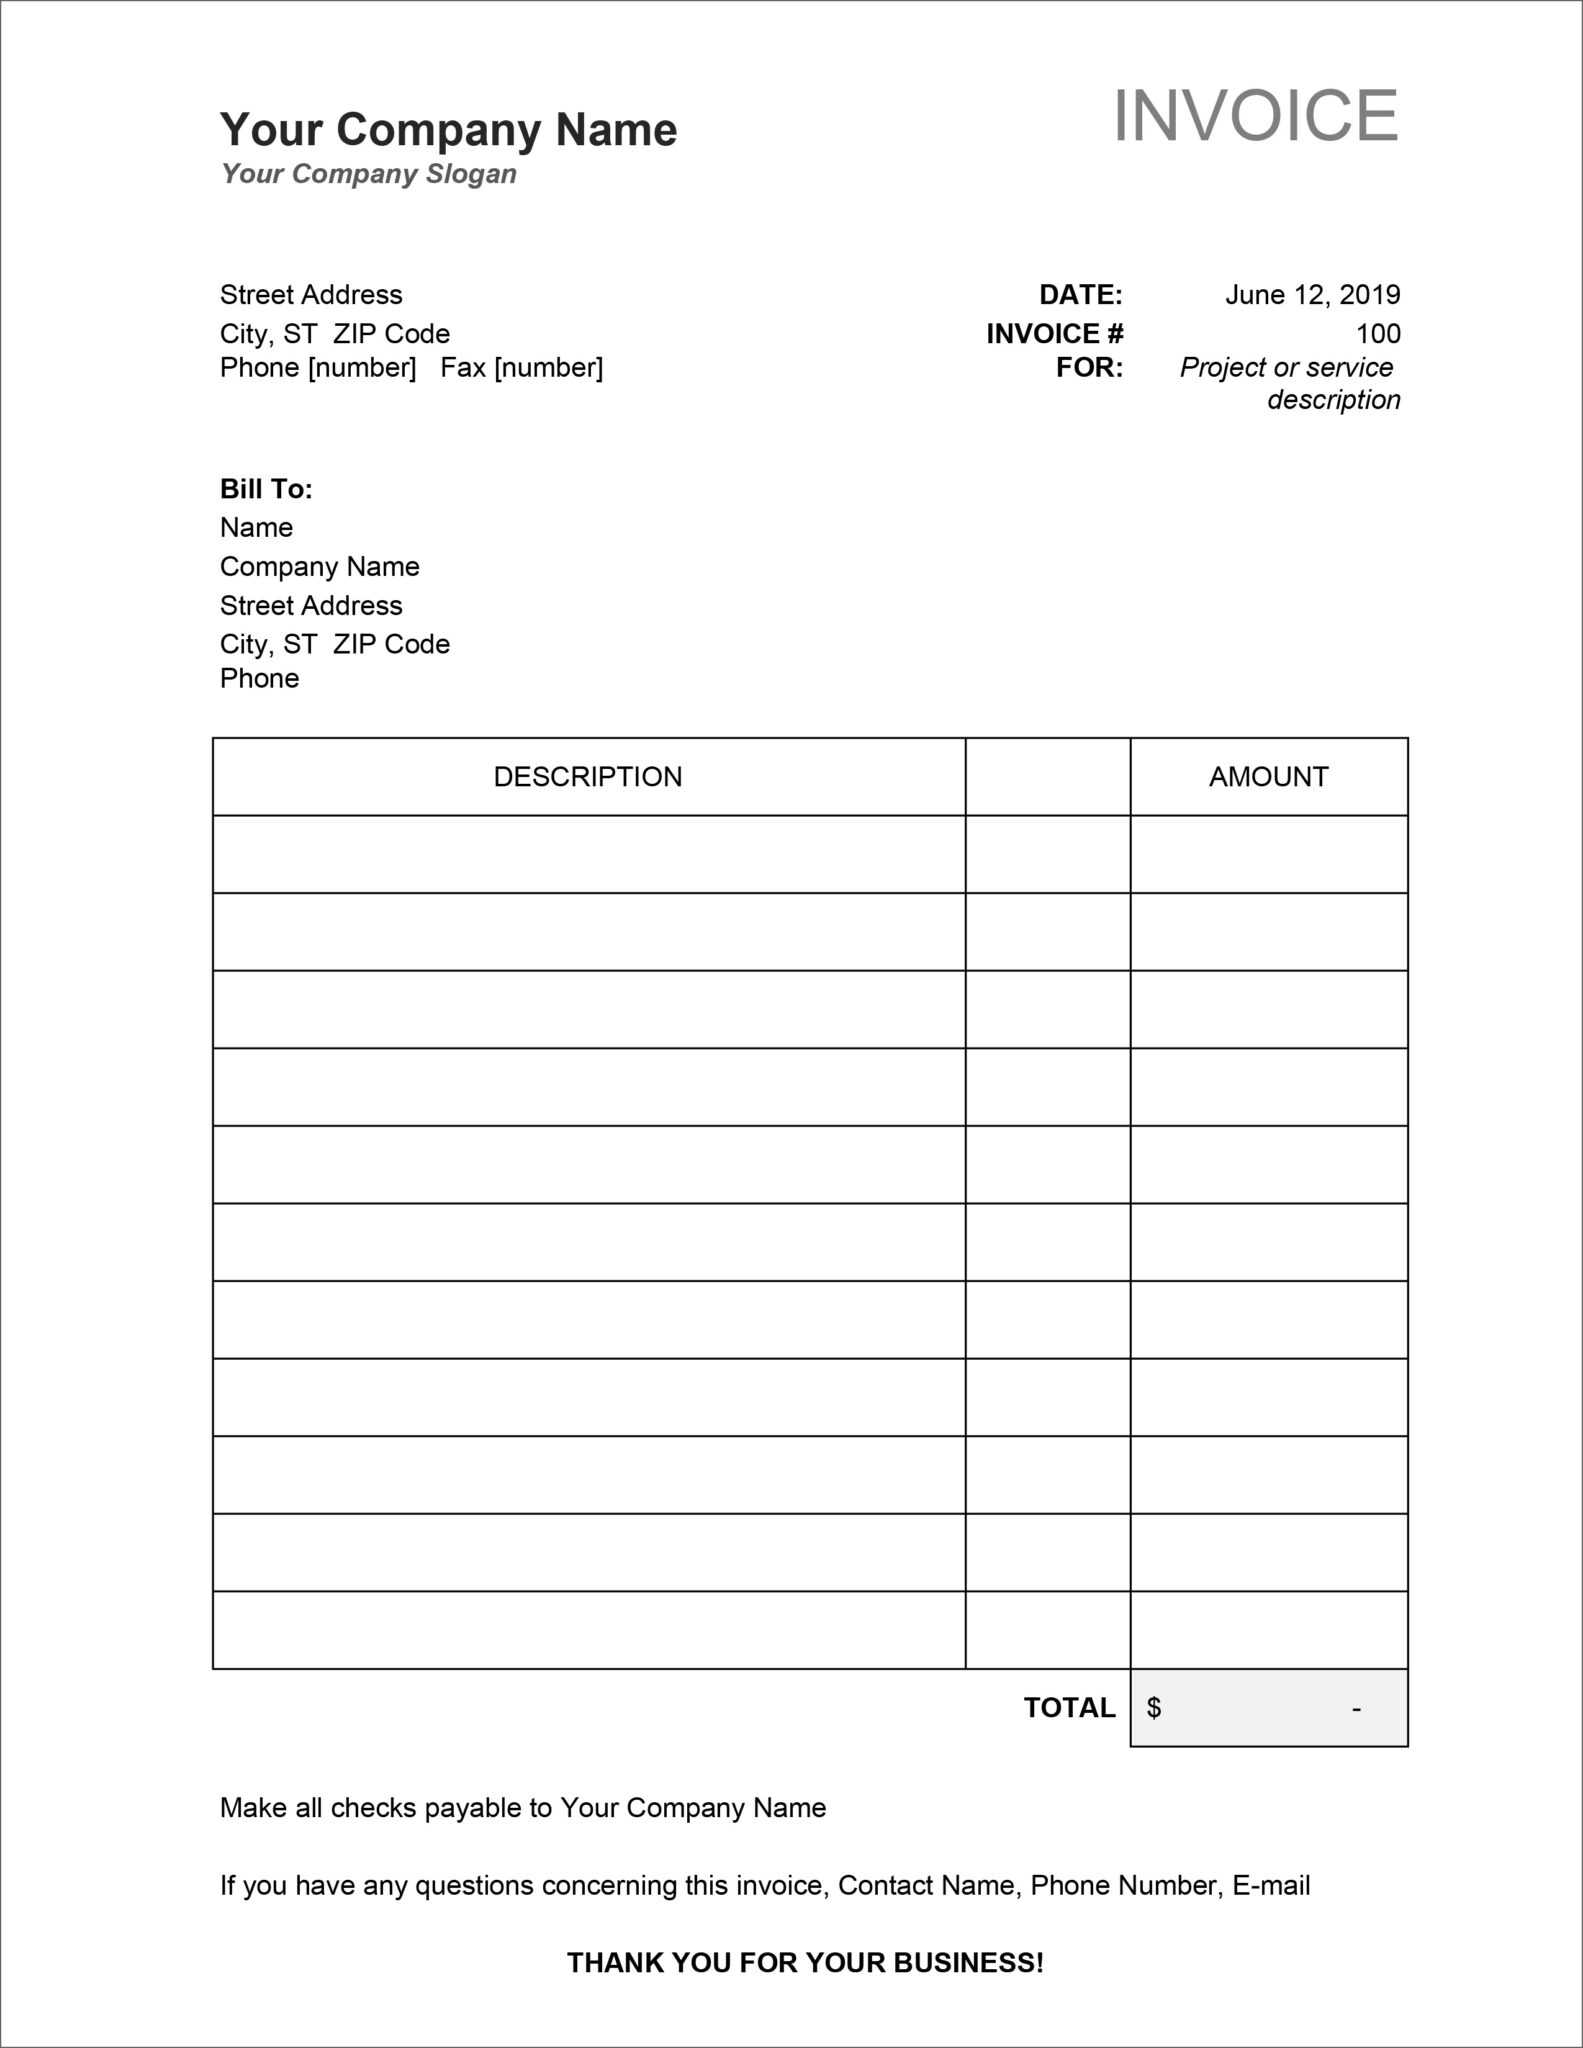
 538×695
 view excel invoice template images invoice template ideas
Don't forget to bookmark How to Create a Simple Excel Invoice Template using Ctrl + D (PC) or Command + D (macos). If you are using mobile phone, you could also use menu drawer from browser. Whether it's Windows, Mac, iOs or Android, you will be able to download the images using download button.
FAQs
1. What is an Excel invoice template?
An Excel invoice template is a pre-designed spreadsheet that helps you generate invoices for your clients, including all necessary billing information.
2. Can I customize the Excel invoice template?
Yes, Excel allows you to customize the template’s layout, colors, fonts, and content to fit your business needs.
3. How do I add my company logo to the invoice template?
Go to the “Insert” tab in Excel, select “Pictures,” and choose your logo file to add it to your invoice.
4. What formulas should I use for calculating totals?
Use =B2*C2 to calculate line totals, =SUM(D2:D10) for subtotals, and =Subtotal*0.10 for tax calculations.
5. How do I create a drop-down list in Excel?
Use “Data Validation” under the “Data” tab to create a drop-down list. Enter your list items in the source box.
6. Can I use Excel’s built-in templates for invoices?
Yes, Excel offers built-in templates that you can use and modify according to your needs.
7. How do I ensure my invoice looks professional?
Use clean fonts, proper alignment, and consistent formatting to ensure your invoice looks professional.
8. What if I need to add more items to the invoice?
Simply insert additional rows in the itemized table and adjust your formulas as needed.
9. How do I save my invoice template for future use?
Save your invoice as an Excel Template (*.xltx) to reuse it for future invoices.
10. Can I automate invoice generation in Excel?
While Excel templates streamline the process, automating invoice generation would require advanced techniques or integration with other software.
Sample Invoice Template
Here’s a simplified example of what your Excel invoice template might look like:
| [Your Company Name] | Invoice |
|---|---|
| [Your Address] | Invoice No: 001 |
| [City, State, ZIP] | Invoice Date: 01/01/2024 |
| [Phone Number] | Due Date: 01/15/2024 |
| [Email Address] | |
| To: | |
| [Client Name] | |
| [Client Address] | |
| [City, State, ZIP] | |
| [Client Phone Number] | |
| [Client Email Address] |
| Description | Quantity | Unit Price | Total |
|---|---|---|---|
| Service/Product 1 | 2 | $50.00 | $100.00 |
| Service/Product 2 | 1 | $75.00 | $75.00 |
| Subtotal | $175.00 | ||
| Tax (10%) | $17.50 | ||
| Total Amount Due | $192.50 |
Notes: Payment is due within 15 days of the invoice date. Please make checks payable to [Your Company Name].
By following this guide, you’ll be able to create a functional and visually appealing invoice template in Excel that suits your business needs. Happy invoicing!

0 comments:
Post a Comment