If you are looking for How to Create a Simple Excel Invoice Template you've come to the right place. We have 14 images about How to Create a Simple Excel Invoice Template including images, pictures, photos, wallpapers, and more. In these page, we also have variety of images available. Such as png, jpg, animated gifs, pic art, logo, black and white, transparent, etc.

Not only How to Create a Simple Excel Invoice Template, you could also find another idea such as Invoice On Excel, Commercial Invoice Excel, Simple Invoice Printable, Basic Invoice Template UK, Create an Invoice, Microsoft Invoice, and Invoice Sample Word, Excel invoice template, create invoice in Excel, simple invoice template, Excel billing template, invoicing in Excel, professional invoice design, Excel for freelancers, small business invoicing, invoice customization, Excel tutorial.
Creating a professional invoice template in Excel is an essential skill for freelancers, small business owners, and anyone who needs to manage billing effectively. A well-designed invoice not only helps you get paid on time but also reflects your professionalism. This comprehensive guide will walk you through the process of creating a simple yet effective Excel invoice template from scratch. We’ll cover everything from basic layout to essential formulas and customization tips.
Why Use Excel for Invoicing?
Benefits of Using Excel for Invoices
Excel is a versatile tool that offers numerous advantages for invoicing:
- Cost-Effective: Excel is widely available and often already included in office software packages.
- Customizable: You can tailor your invoice template to meet your specific needs and branding.
- Automated Calculations: Built-in formulas can automatically calculate totals, taxes, and discounts, reducing manual errors.
- Ease of Use: Excel’s user-friendly interface makes it easy to create and modify templates.
Who Should Use an Excel Invoice Template?
Excel invoice templates are ideal for freelancers, small business owners, and service providers who need a straightforward solution for billing without investing in specialized invoicing software.
Preparing Your Excel Invoice Template
Step 1: Set Up Your Document
Open a new Excel workbook and create a clean, uncluttered workspace for your invoice. Follow these steps:
- Open Excel: Launch Microsoft Excel and create a new blank workbook.
- Set the Page Layout: Go to the "Page Layout" tab and select "Orientation" to choose between portrait or landscape. Portrait is commonly used for invoices.
- Adjust Margins: Set appropriate margins under the "Page Layout" tab to ensure your invoice fits well on printed pages.
Step 2: Add Basic Information
Start by entering the essential details of your invoice:
- Header: Add your company name, address, phone number, and email at the top. You can use bold text or a larger font size for visibility.
- Invoice Title: Label the document as "Invoice" to clearly identify its purpose.
- Invoice Number and Date: Include fields for the invoice number and date to keep track of billing. Use Excel’s date function to automatically generate dates if needed.
Designing the Invoice Layout
Step 1: Create a Table for Itemized Billing
An organized table is crucial for listing products or services:
- Insert a Table: Go to the "Insert" tab and select "Table" to create a table with columns for item description, quantity, unit price, and total.
- Column Headers: Label the columns clearly:
- Description: The product or service being billed.
- Quantity: The amount or number of units.
- Unit Price: The cost per unit.
- Total: The total cost for each line item (Quantity x Unit Price).
Step 2: Add Calculation Formulas
Automate calculations to save time and reduce errors:
- Subtotal: In the cell below the last line item, use the SUM function to calculate the subtotal. For example,
=SUM(D2:D10)where D2is the range of total prices. - Tax Calculation: Create a cell for tax calculation. For example, if the tax rate is 5%, use the formula
=SubtotalCell*0.05. - Total Amount Due: Sum the subtotal and tax to get the total amount due. Use the formula
=SubtotalCell+TaxCell.
Customizing Your Invoice Template
Step 1: Add Branding Elements
Incorporate your company’s branding to make your invoices look professional:
- Logo: Insert your company logo by going to the "Insert" tab and selecting "Pictures."
- Color Scheme: Use Excel’s cell fill and font color options to match your company’s colors.
- Font Style: Choose a font that reflects your brand’s style but remains easy to read.
Step 2: Include Payment Terms
Clearly state the payment terms to ensure timely payments:
- Payment Due Date: Specify the due date for payment.
- Accepted Payment Methods: List the payment methods you accept (e.g., bank transfer, PayPal).
- Late Fees: Include any information about late fees or interest charges if applicable.
Saving and Using Your Template
Step 1: Save Your Template
Save your invoice template so you can reuse it:
- Save As Template: Go to "File" > "Save As" and choose "Excel Template (*.xltx)" from the file type dropdown menu.
- Name Your Template: Give your template a descriptive name for easy identification.
Step 2: Generate New Invoices
When you need to create a new invoice:
- Open Template: Open your saved template.
- Enter Details: Fill in the invoice details for each new client or project.
- Save As New File: Save each completed invoice as a new file with a unique name.
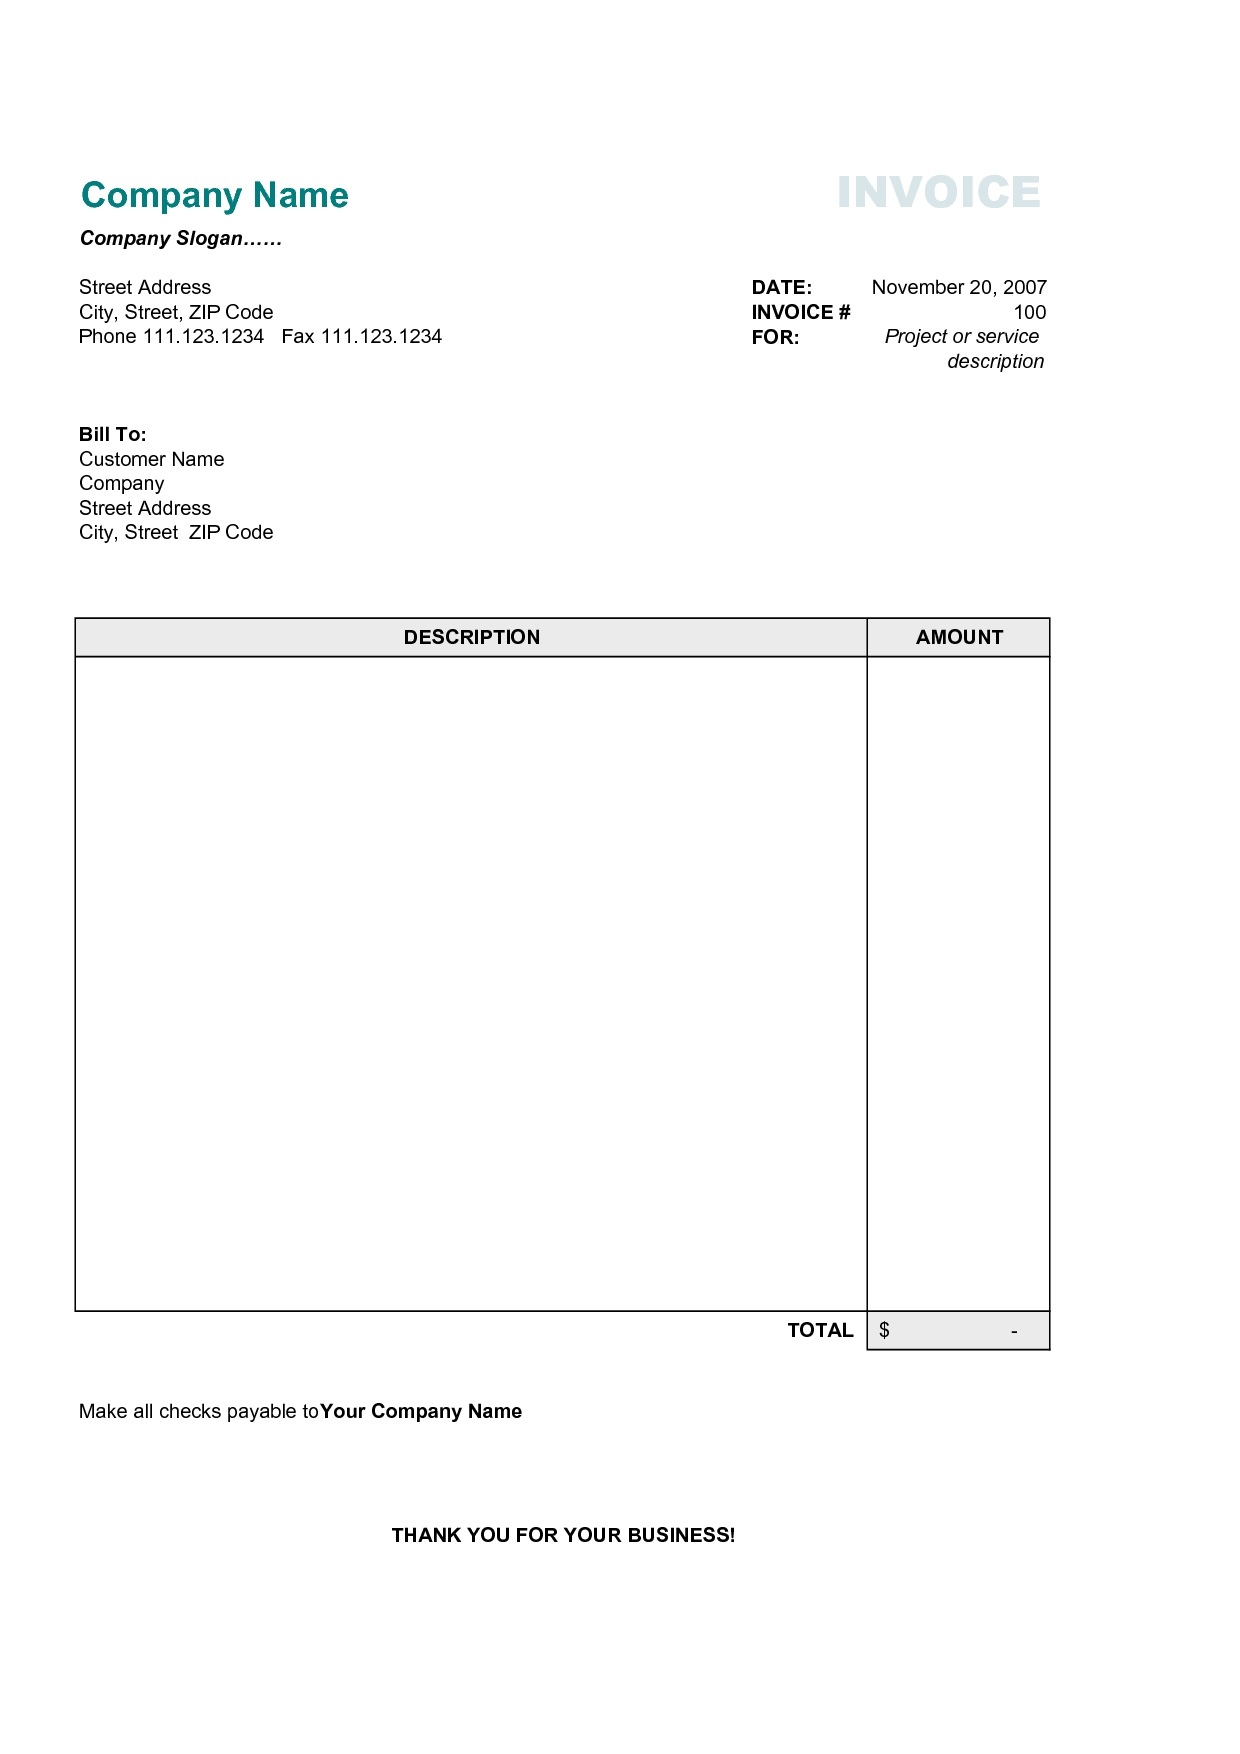
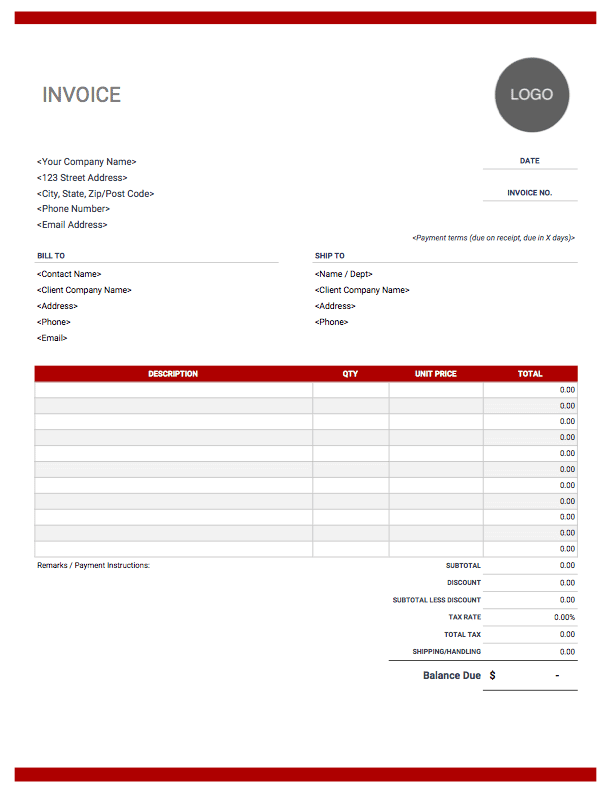

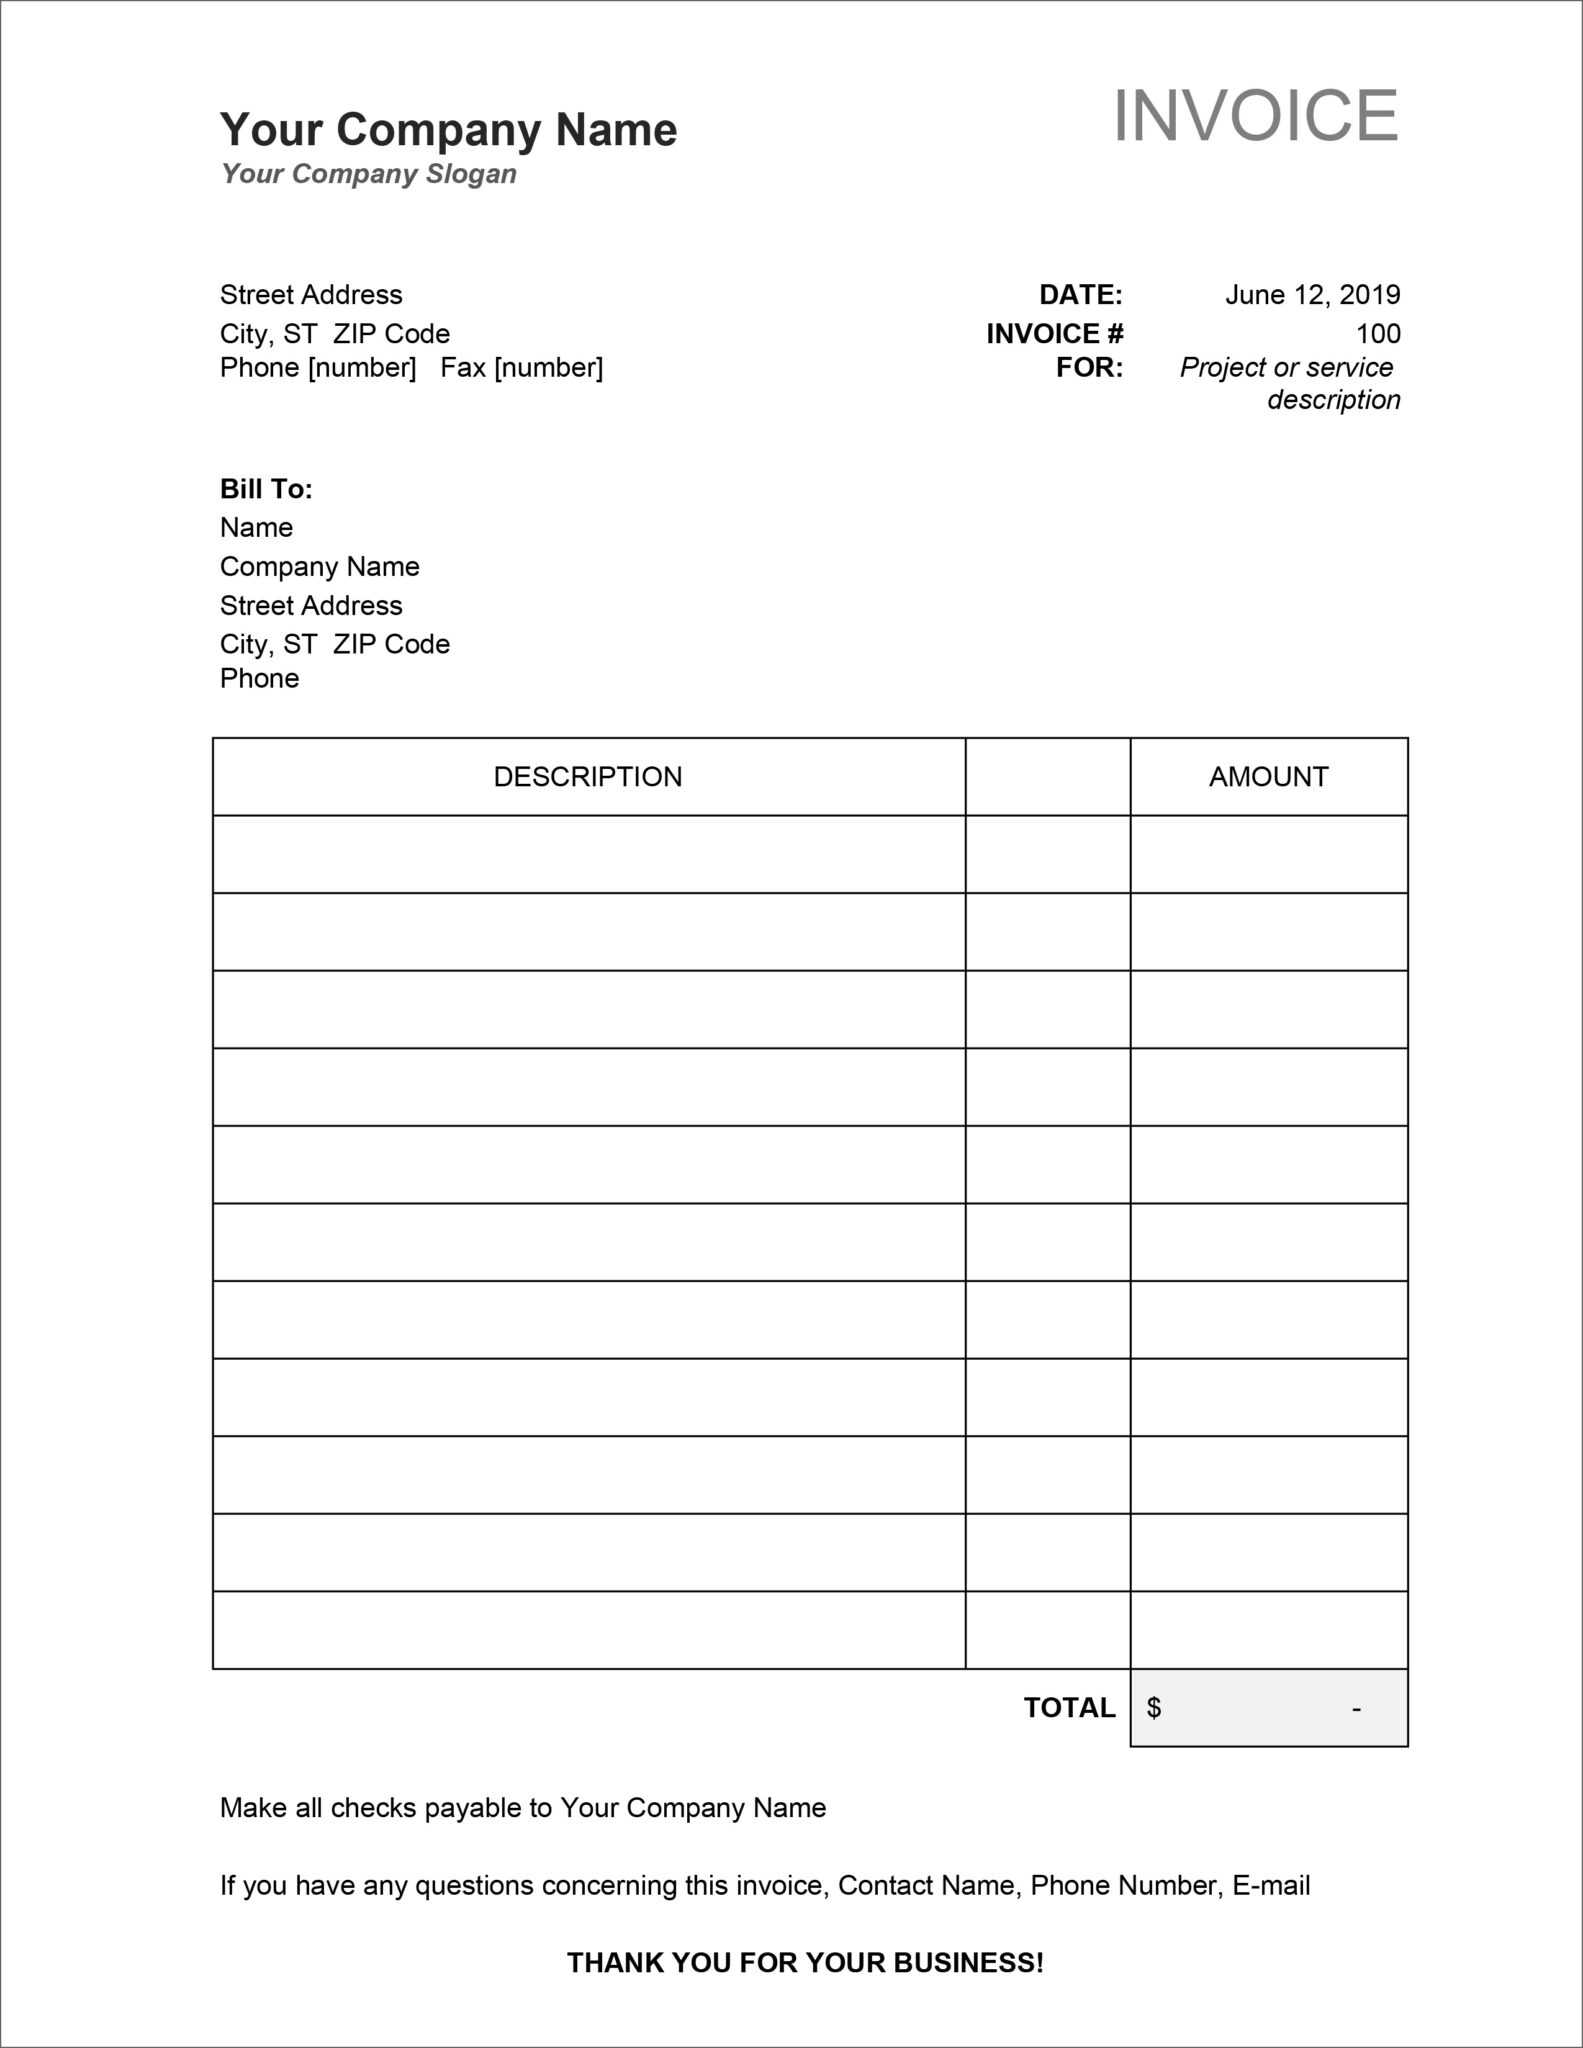
 459×584
 invoice template excel sample template business psd excel word
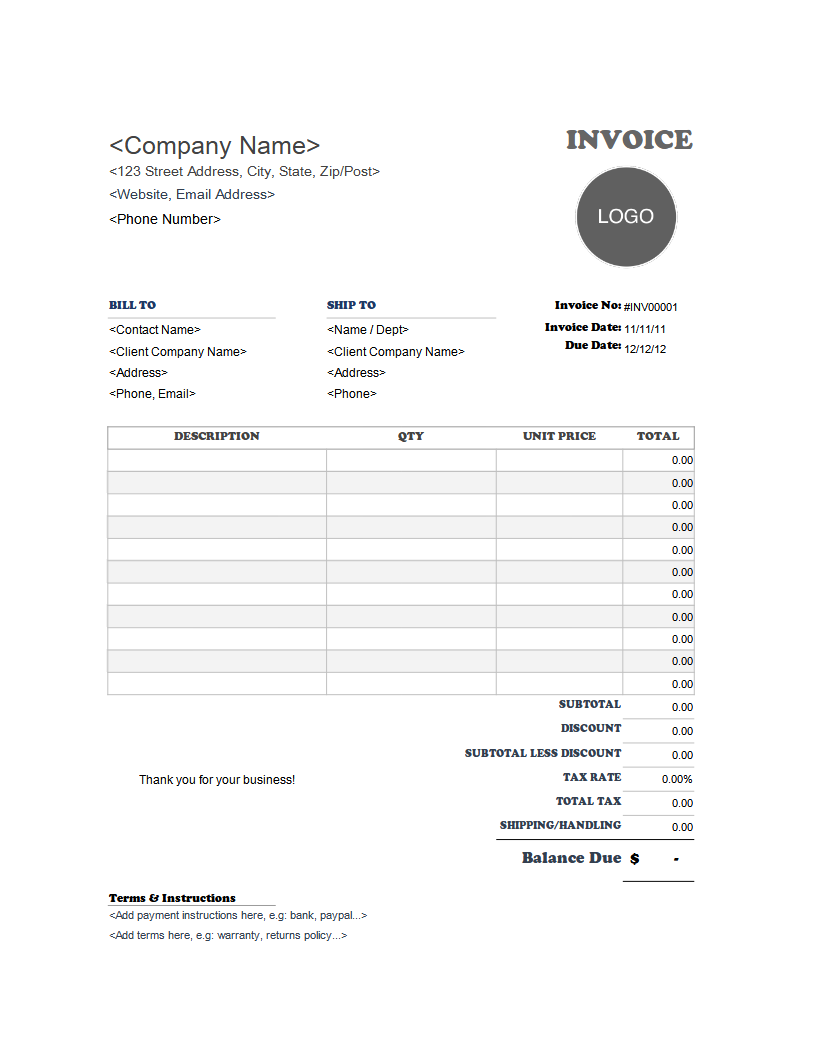
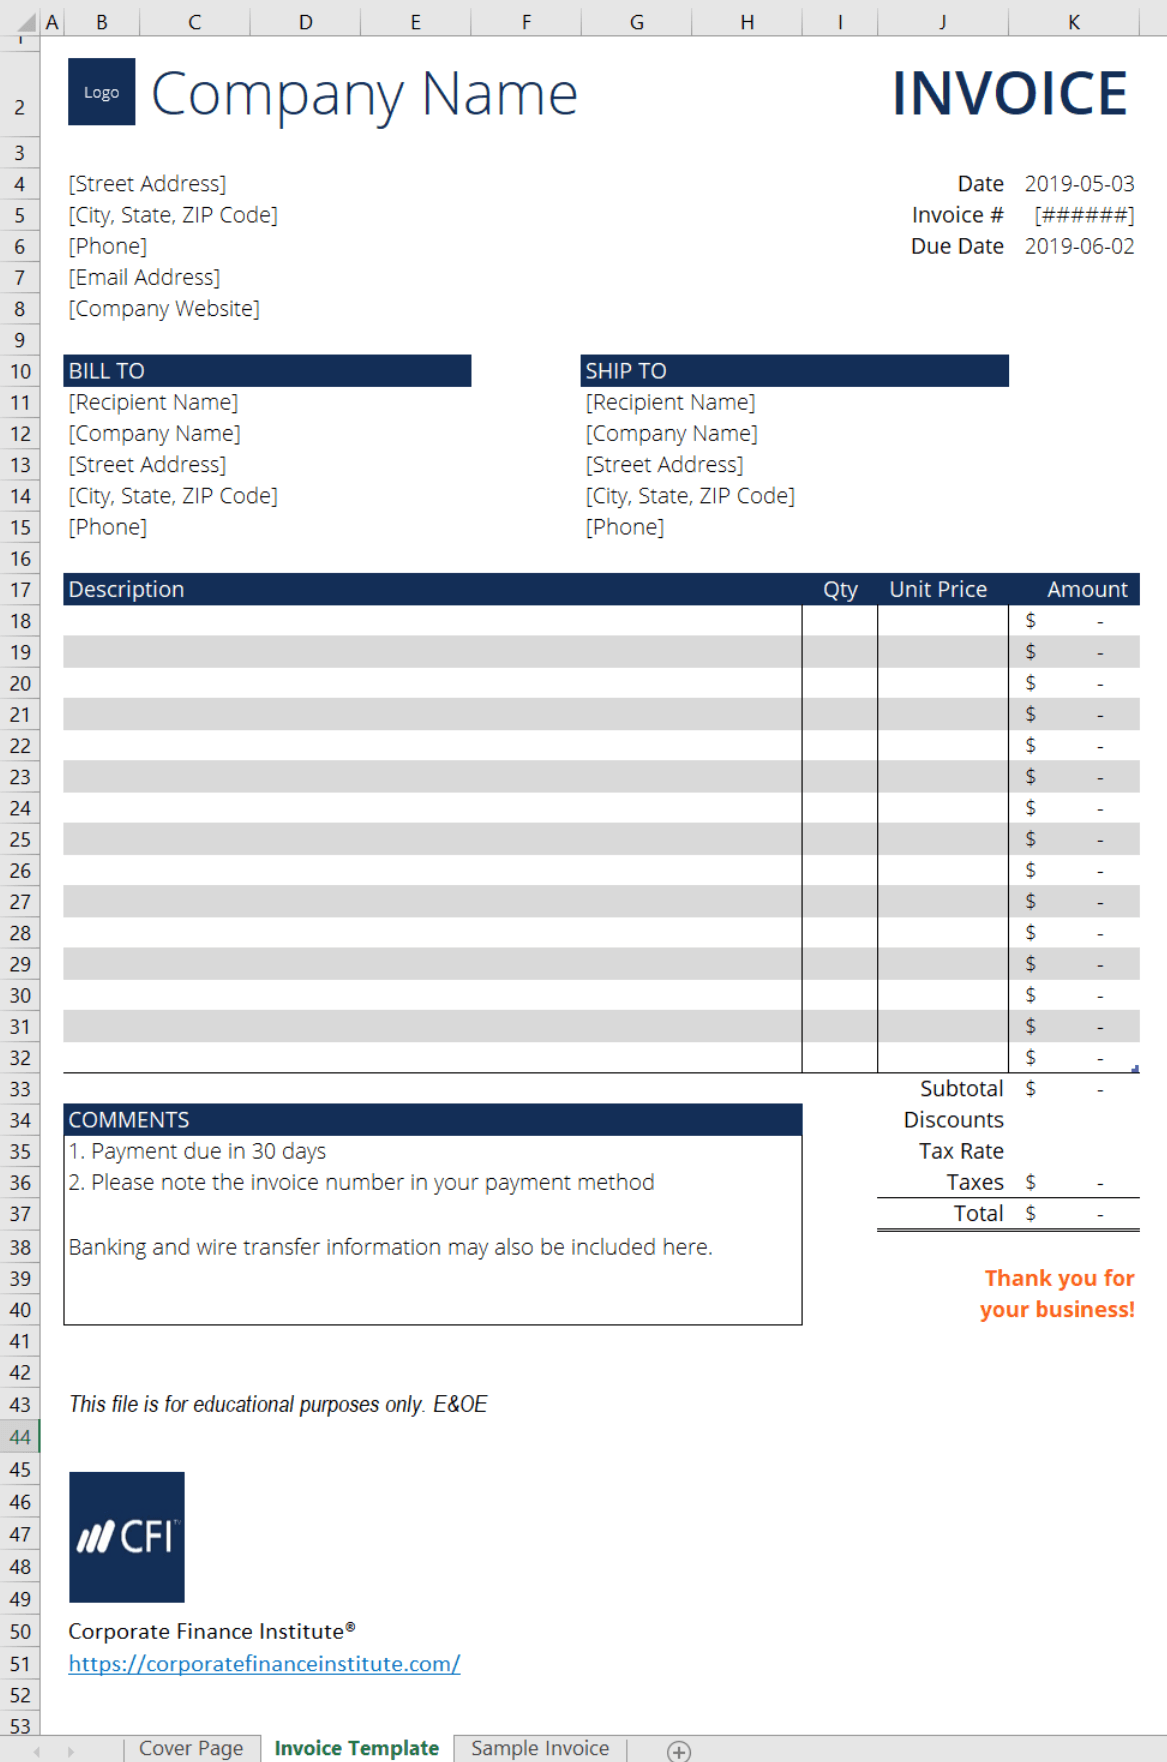
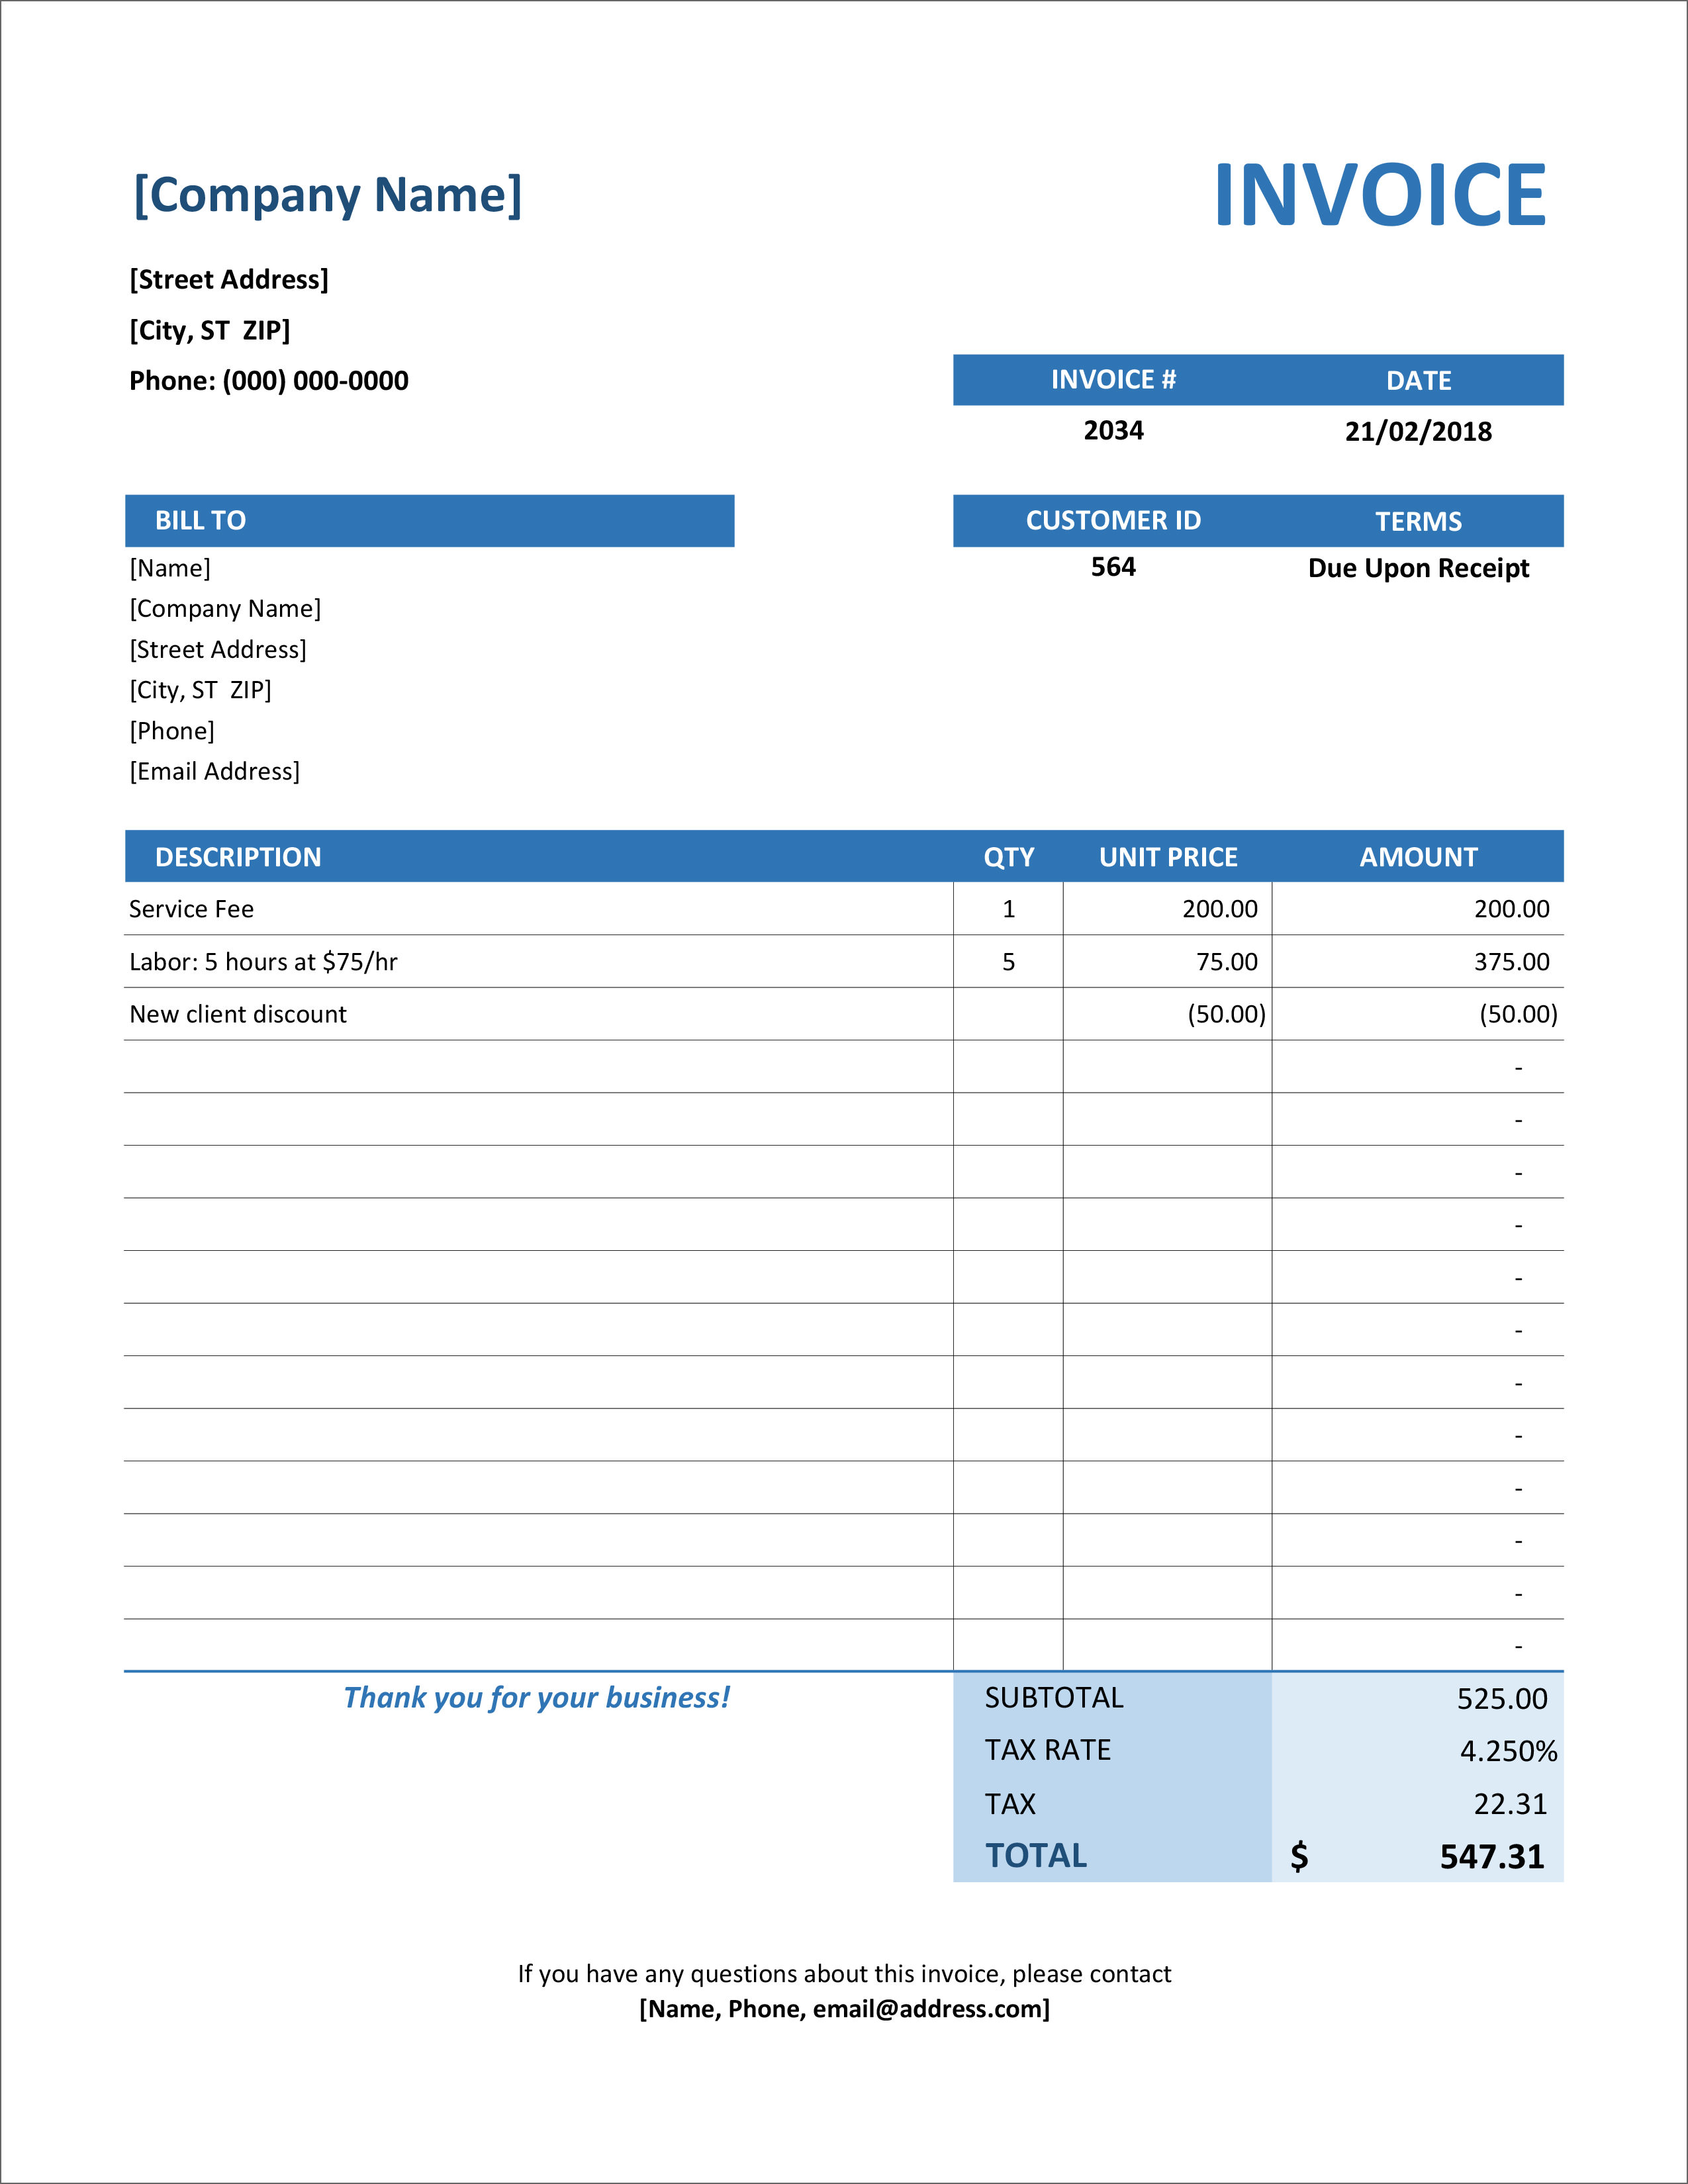
 1583×2048
 invoice templates microsoft excel docx formats pertaining downloadable
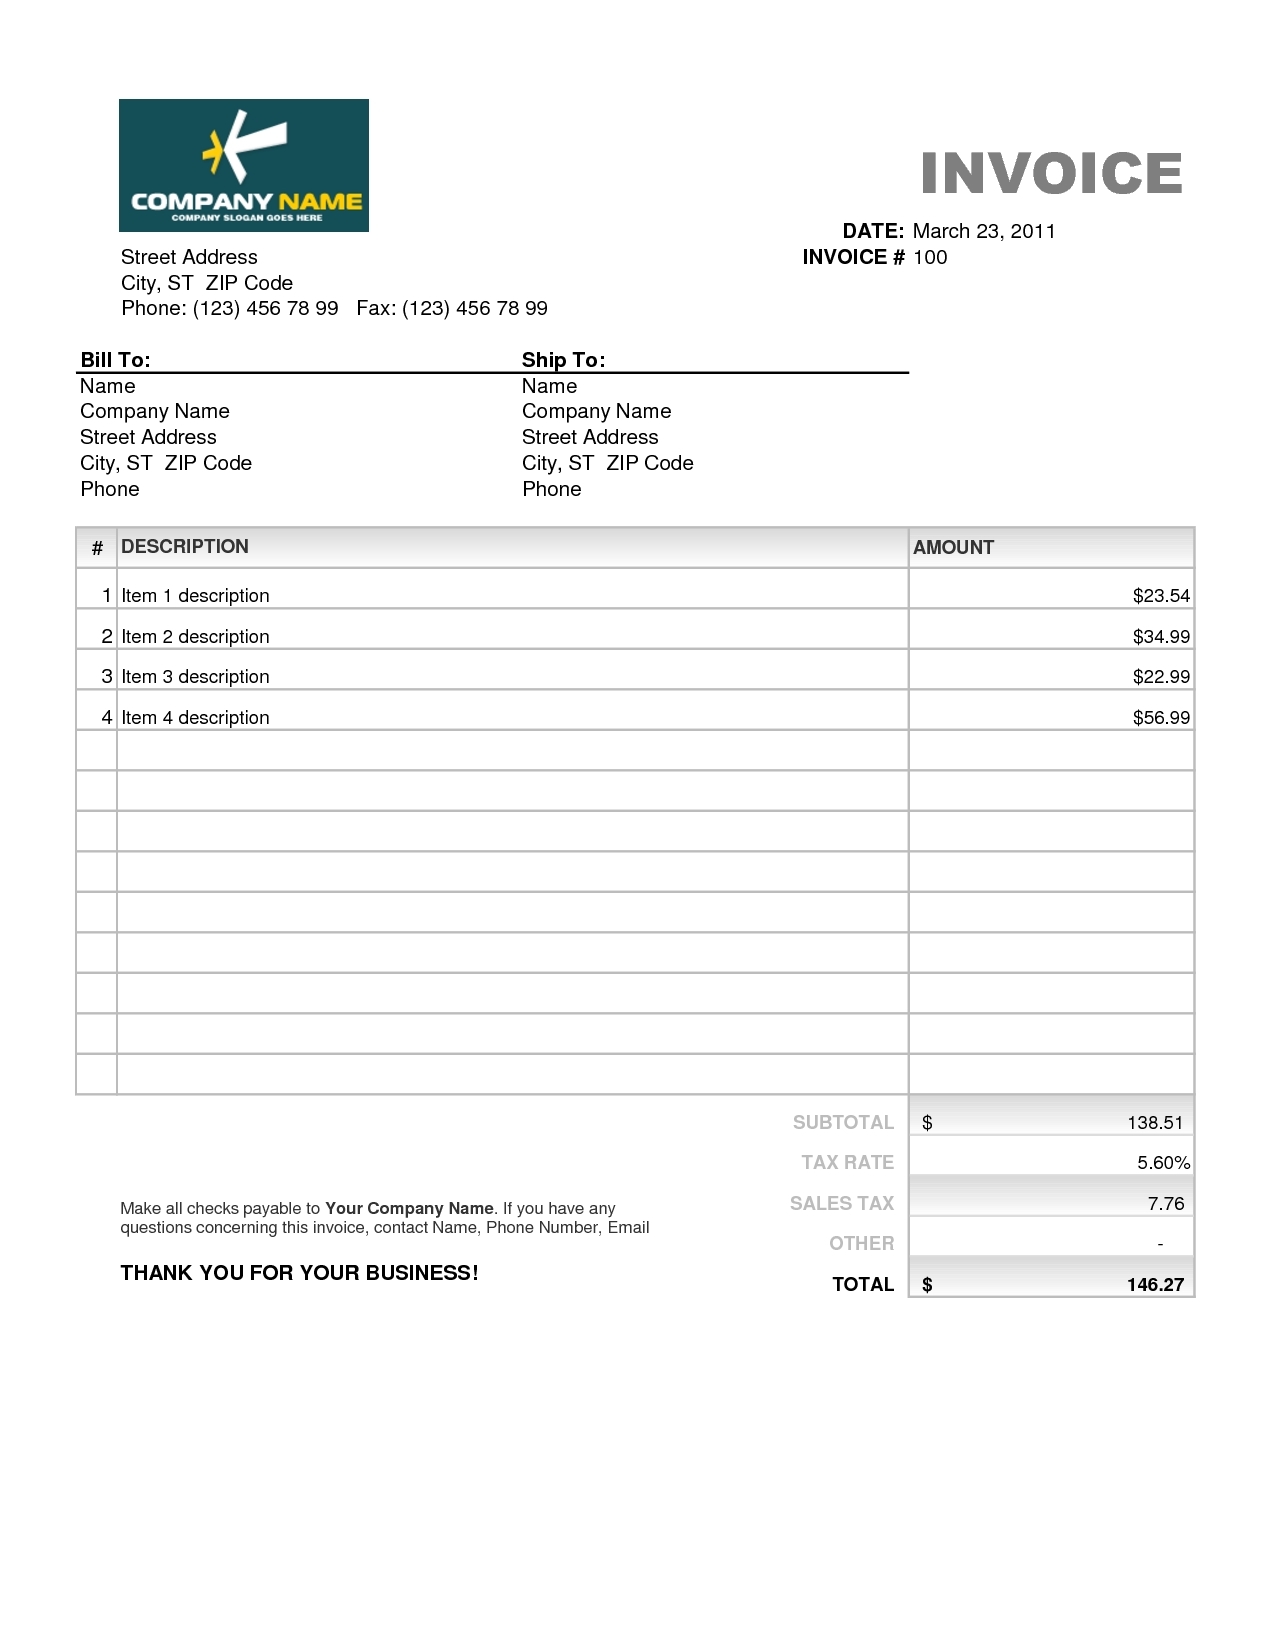
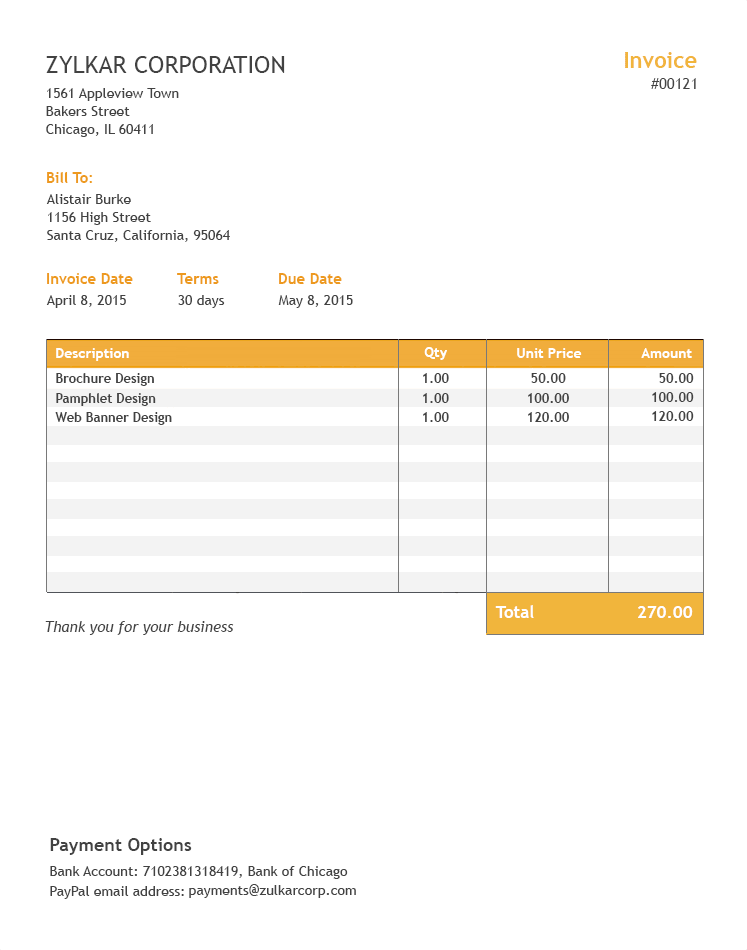
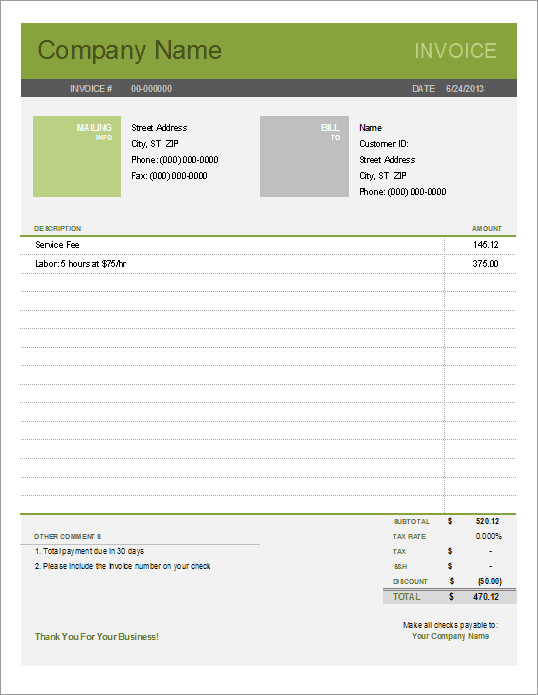 538×695
 view excel invoice template images invoice template ideas
Don't forget to bookmark How to Create a Simple Excel Invoice Template using Ctrl + D (PC) or Command + D (macos). If you are using mobile phone, you could also use menu drawer from browser. Whether it's Windows, Mac, iOs or Android, you will be able to download the images using download button.
Common Questions About Creating Excel Invoice Templates
1. What is an Excel invoice template?
An Excel invoice template is a pre-designed spreadsheet that helps you create invoices with a consistent format. It includes fields for entering billing information and automatic calculations for totals.
2. How do I customize an Excel invoice template?
You can customize an Excel invoice template by adding your business information, logo, and adjusting colors and fonts to match your branding. You can also modify column headers and formulas as needed.
3. Can I automate invoice numbering in Excel?
Yes, you can automate invoice numbering using Excel’s sequence functions or by manually updating the invoice number for each new invoice.
4. How do I calculate taxes on my invoice?
To calculate taxes, create a cell for the tax rate and multiply it by the subtotal. You can use Excel’s formula functions to automate this calculation.
5. Is it possible to add payment terms to my invoice template?
Yes, you can add a section for payment terms, including due dates, payment methods, and late fees, to ensure clients are aware of your payment policies.
6. How can I ensure my invoice template looks professional?
Ensure professionalism by using a clean layout, consistent fonts, and incorporating your company’s branding elements like logos and colors.
7. Can I include a discount on my invoice template?
Yes, you can add a discount field and adjust the total amount due accordingly. Include a cell for the discount percentage or amount and subtract it from the subtotal.
8. How do I handle multiple currencies in an Excel invoice template?
To handle multiple currencies, include a currency field in your template and adjust formulas to reflect the correct currency format.
9. Can I use Excel to track unpaid invoices?
Excel can be used to track unpaid invoices by creating an additional column for payment status and updating it as payments are received.
10. What should I do if I encounter issues with formulas in my template?
Double-check the formulas for accuracy and ensure cell references are correct. You can also use Excel’s built-in formula auditing tools to troubleshoot errors.
Sample Excel Invoice Template
Here’s a simplified sample to help you get started:
| Company Name | Invoice |
|---|---|
| Company Address | Invoice Number: 001 |
| City, State, ZIP | Invoice Date: [Date] |
| Phone Number | Due Date: [Date] |
| Email Address | |
| Bill To: | |
| Client Name | Client Address |
| Client City, State | Client ZIP |
| Description | Quantity | Unit Price | Total |
|---|---|---|---|
| Service/Product 1 | 2 | $50.00 | $100.00 |
| Service/Product 2 | 1 | $75.00 | $75.00 |
| Subtotal | $175.00 | ||
| Tax (5%) | $8.75 | ||
| Total Amount Due | $183.75 |
Payment Terms: Due within 30 days. Please make payment to [Bank Account Details].
This template includes the essential components of an invoice and can be customized to fit your needs.
Creating a simple Excel invoice template can streamline your billing process, ensure professionalism, and make managing finances easier. By following these steps, you can design a functional and attractive template tailored to your needs. With Excel’s powerful features, you’ll be able to automate calculations, maintain accurate records, and present a polished image to your clients. Happy invoicing!

0 comments:
Post a Comment